How to Buy and Sell NFTs Using Credit Card with thirdweb Marketplace and Paper
No code required! Expand your marketplace audience using thirdweb marketplace and Paper to buy and sell NFTs with a credit card.

Hi there! 👋 I’m Harpriya, an engineer from Paper. In this tutorial, we will be creating an NFT checkout using thirdweb’s Marketplace smart contract using the Ethereum Network! If you have any questions, feel free to ask in the Paper Community Discord. The discord is full of fellow builders you can ask for assistance from. The Paper team will also be active on the server to help answer questions, including me!
Note: There will be no coding knowledge required to do this tutorial.
Prerequisites
- Understand what an NFT is.
- Having access to the Paper Community Discord
Overview
For this tutorial, we will be following a very simple 3-part process:
- Create a thirdweb Marketplace Smart Contract
- Create an NFT Checkout Flow
- Customize! (optional)
Part 1: Creating a thirdweb Marketplace Smart Contract
In this tutorial, we’ll be creating a smart contract without writing any code. There’s actually a tool out there to accomplish just this, and it's called thirdweb. Thirdweb has many options for creating a pre-built contract.
To begin, head over to thirdweb and log in using a wallet of your choice! If this is your first time using a wallet, we recommend following this guide from our friends over at thirdweb to set up a MetaMask wallet.
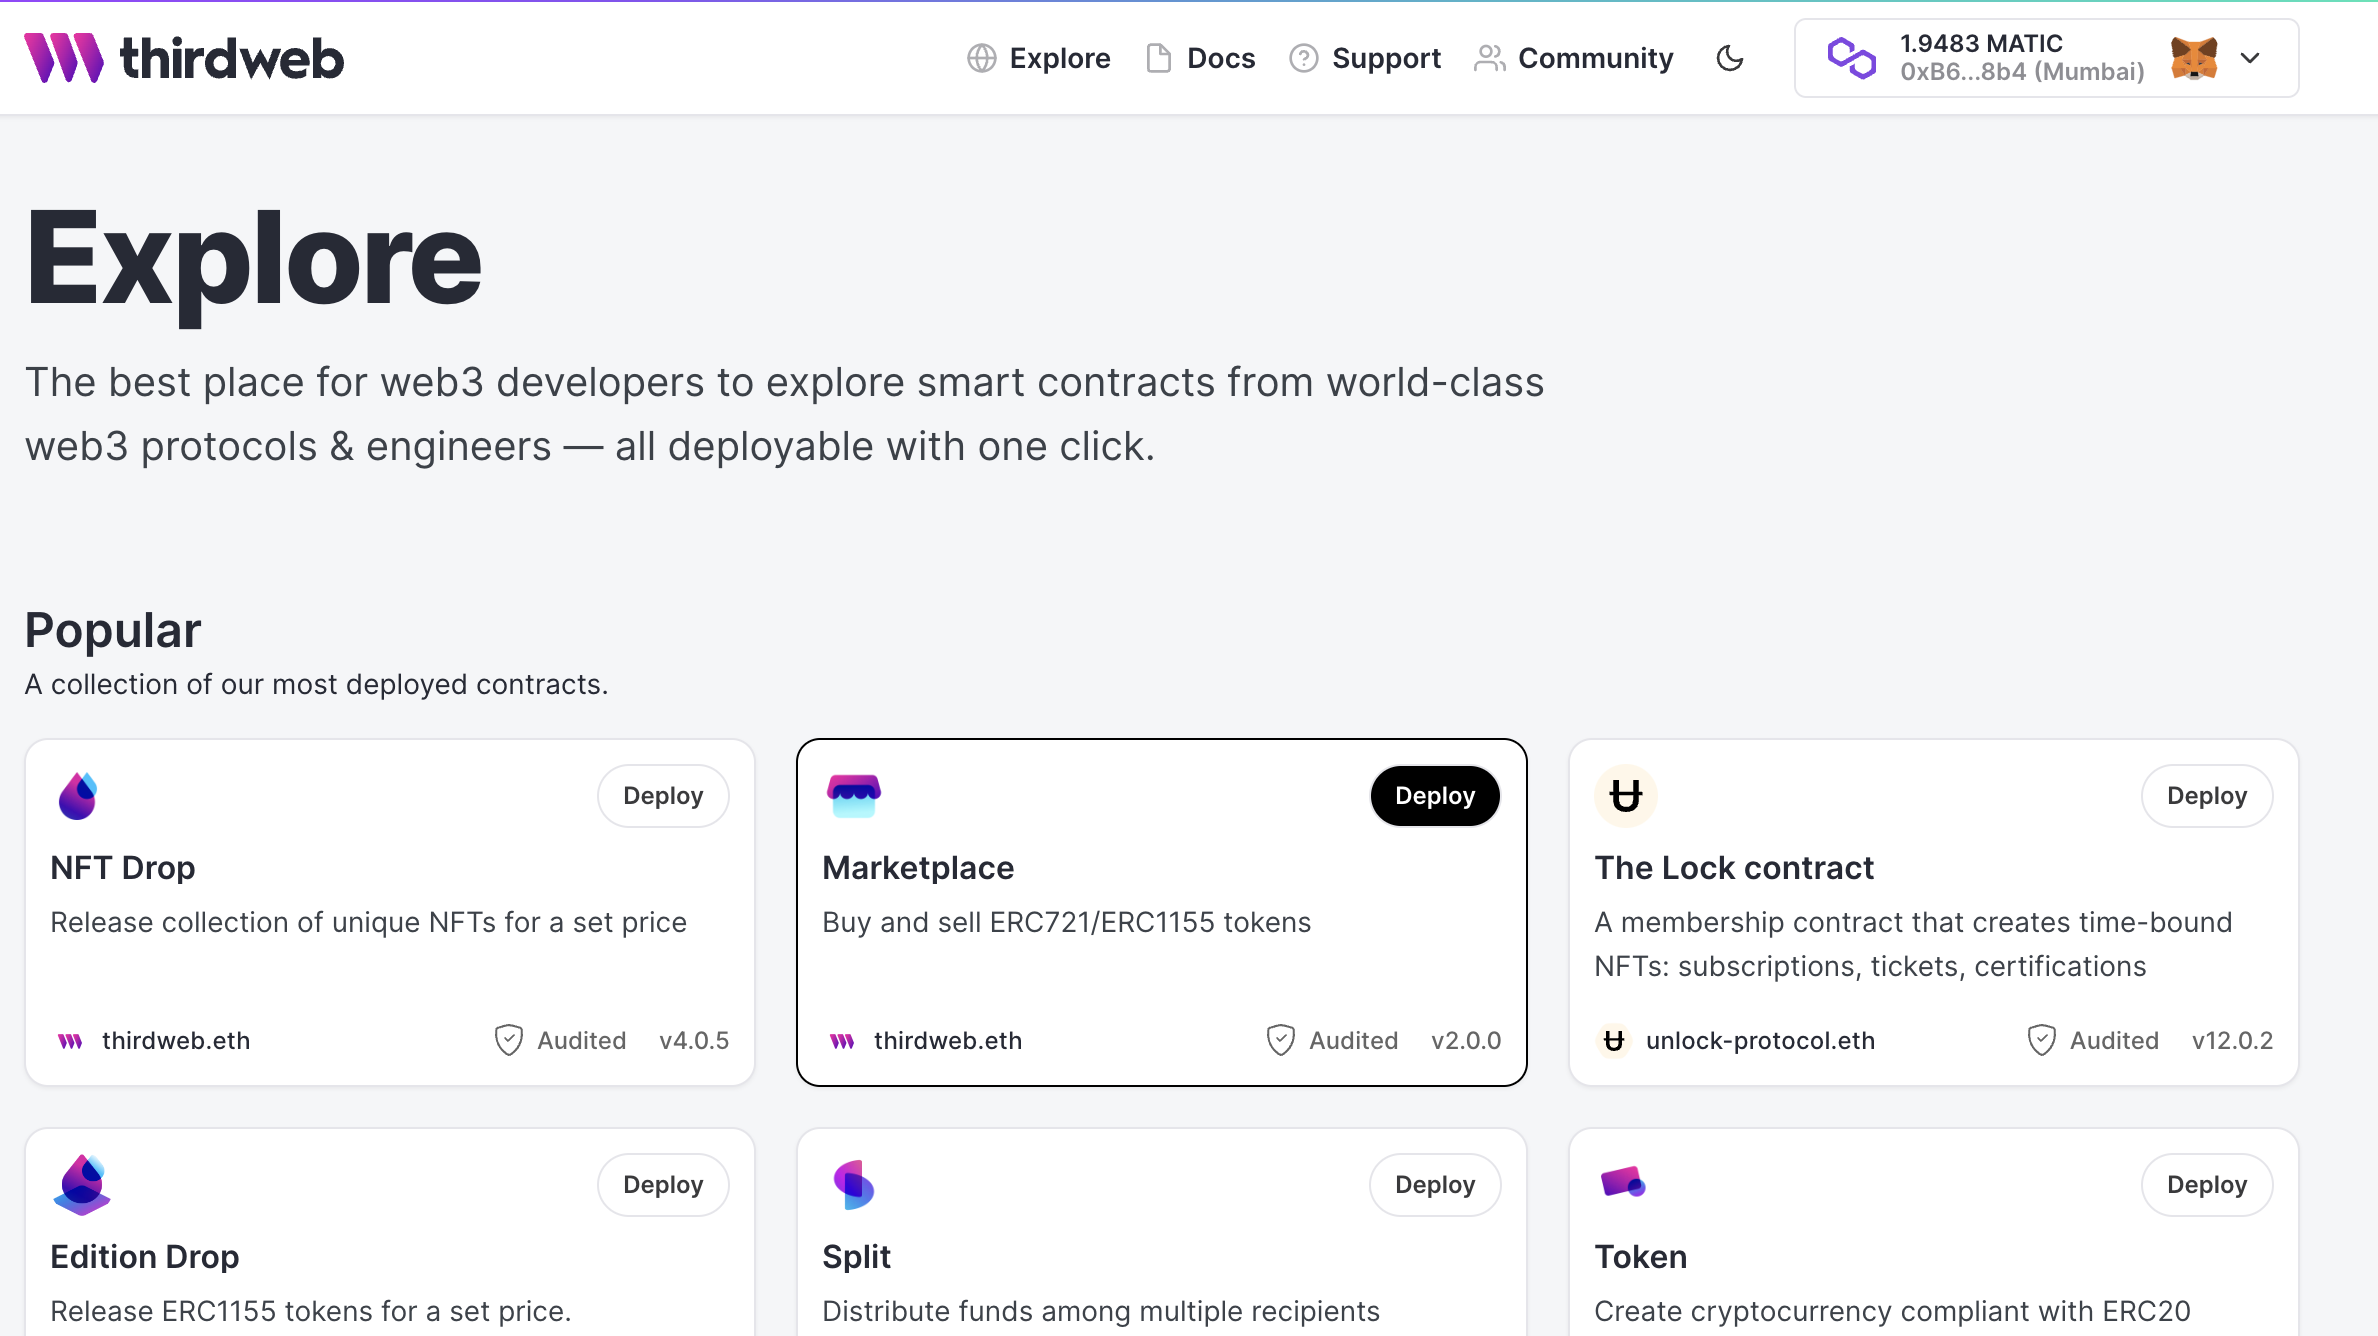
Once you connect your wallet, choose the “Marketplace” contract. This smart contract has functions to allow us to buy or sell any ERC-721 or ERC-1155 NFT!
On the next page, click “Deploy Now”. You can start filling out all the details for your marketplace. For this tutorial, I’ll be create a marketplace of cookie NFTs on the Goerli test network. See below for what my contract metadata looks like:
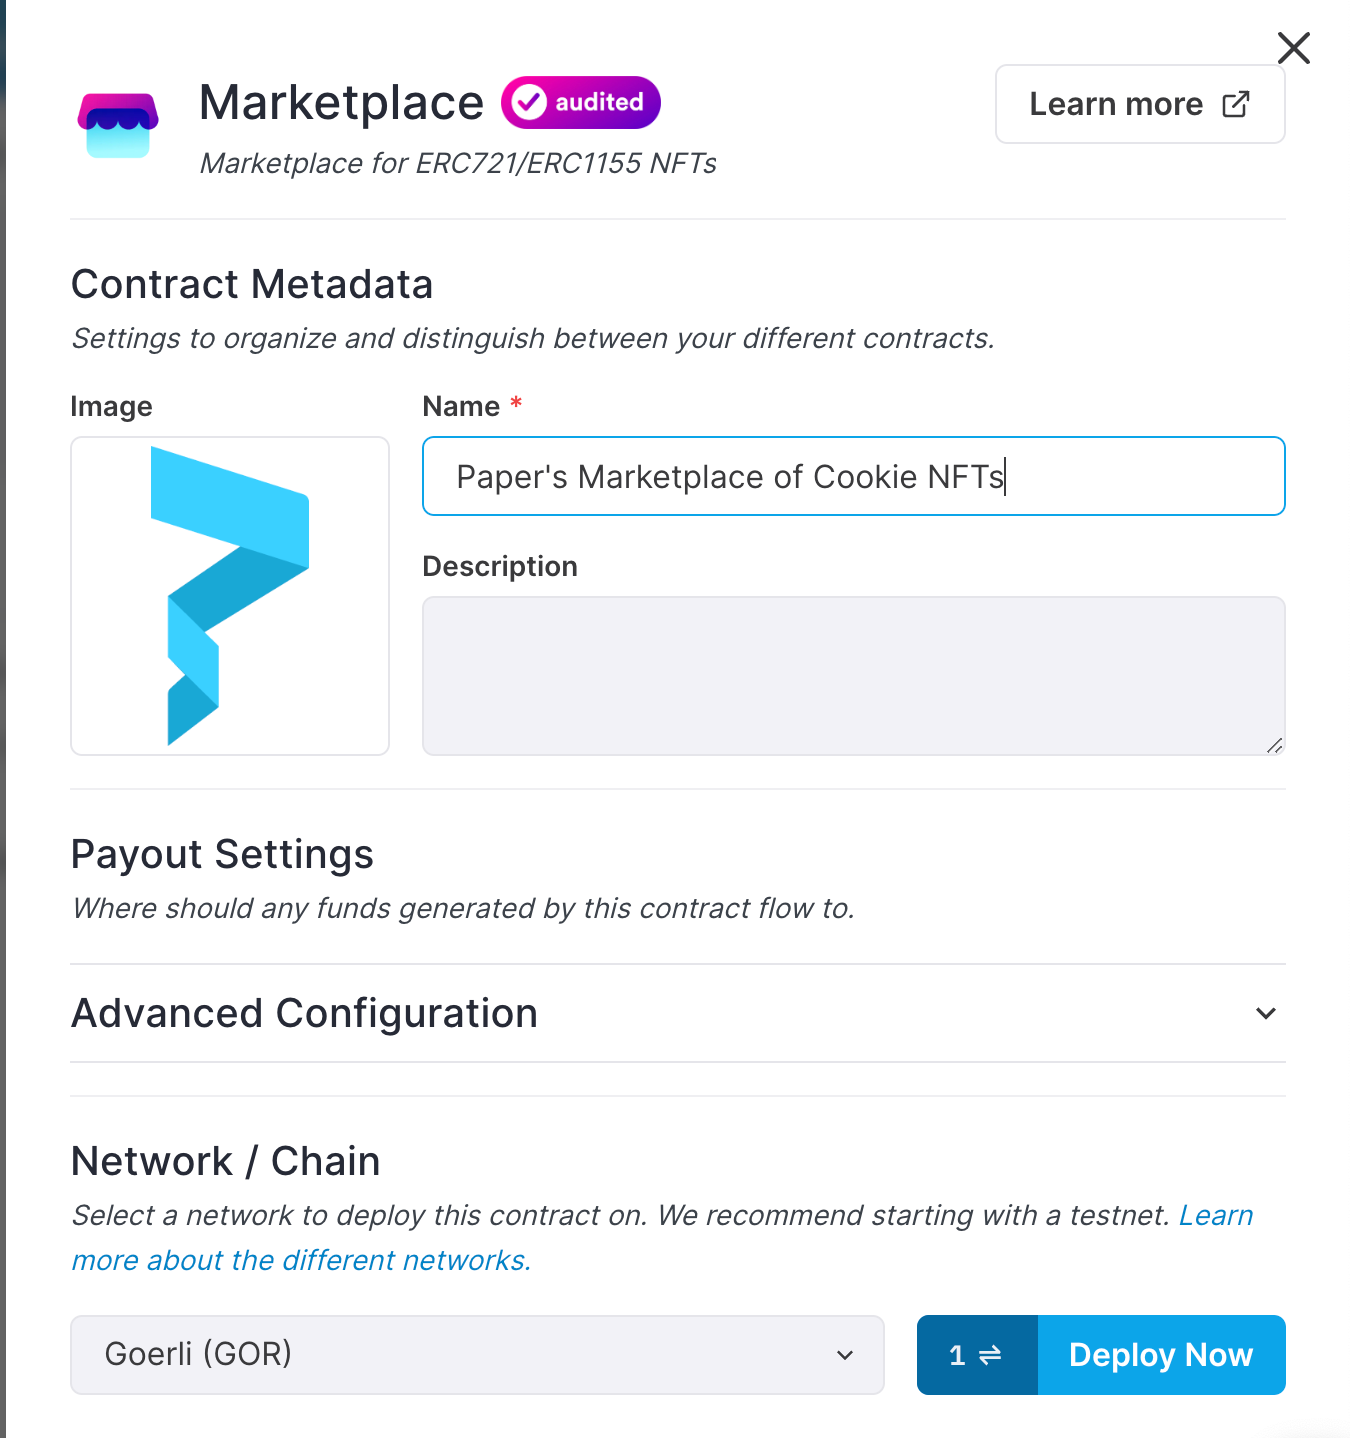
After adding your metadata, click “Deploy Now”. You’ll get a popup that says you’ll need some GOR to pay for gas. GOR or GoerliETH is basically fake money or fake ETH that the test network uses to deploy stuff or pay for gas. Anyways, let’s get some fake money! We do this by going to a place called a “faucet”. Click the “Get GOR from Faucet button” and copy your MetaMask Wallet Address into the new page. You should see your MetaMask update with 0.1 GoerliETH!
Great, now we’ve created a marketplace smart contract! But in order to buy or sell any NFTs using this smart contract, we need to add NFTs that the marketplace owns! When you click “Create Listing” you’ll be able to select NFTs in your wallet that you can add to this smart contract.
If you don’t have any NFTs in your wallet, you’ll need to mint some! The best way to do this is to go to thirdweb.com/explore and create an “NFT Drop” contract. From here, you can upload images and metadata for each NFT and click the “claim” button to mint the NFTs to your wallet!
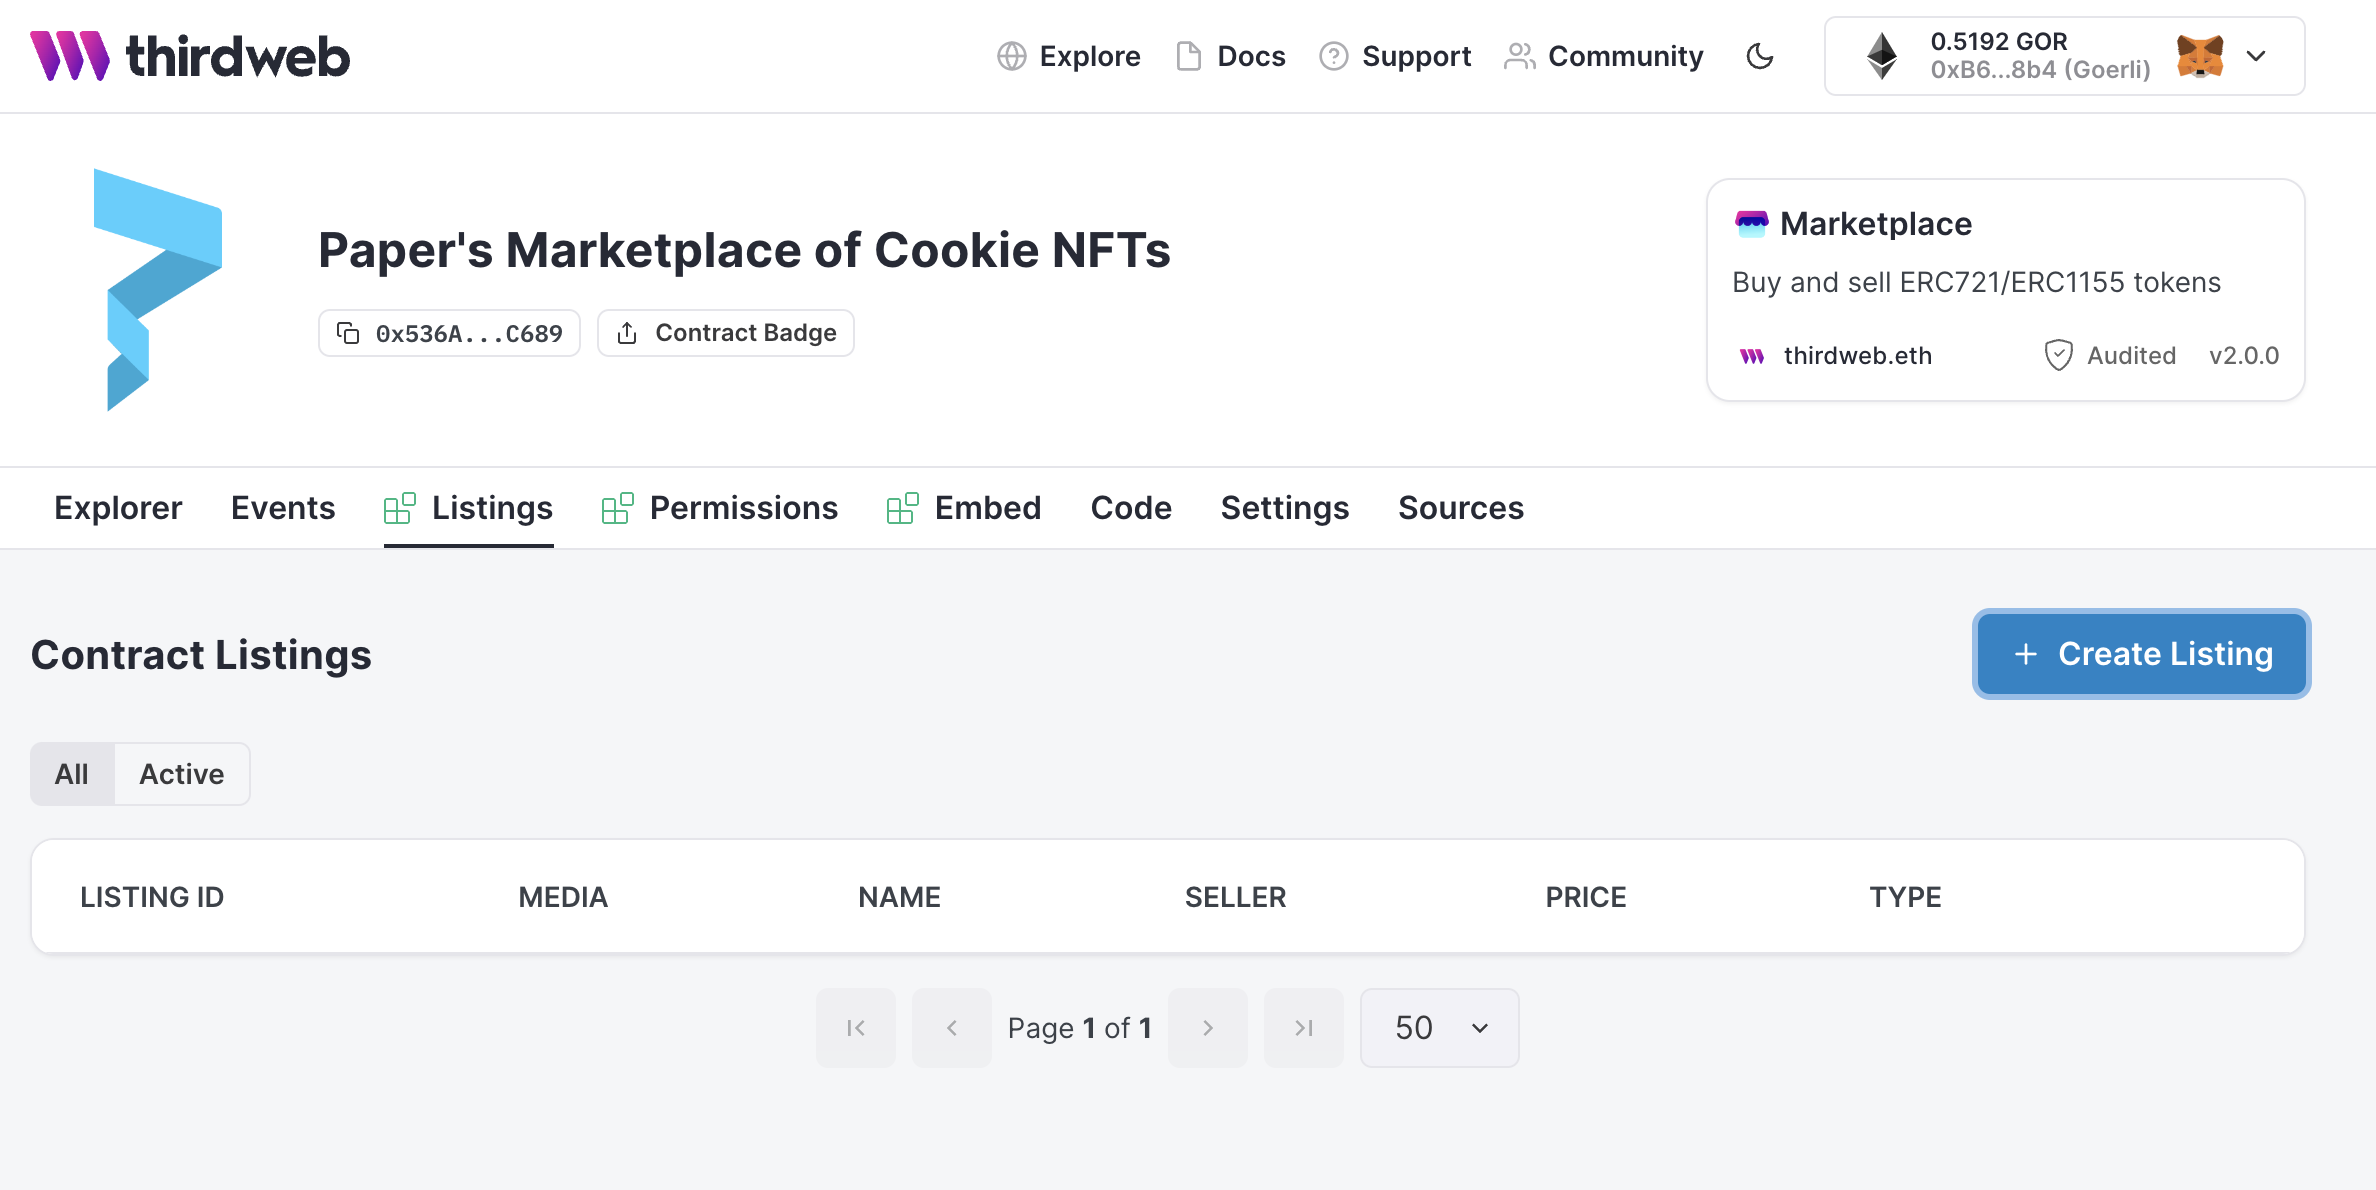
After you’ve created a listing for each NFT you’d like on your marketplace smart contract, your thirdweb listing page should look a little something like this:
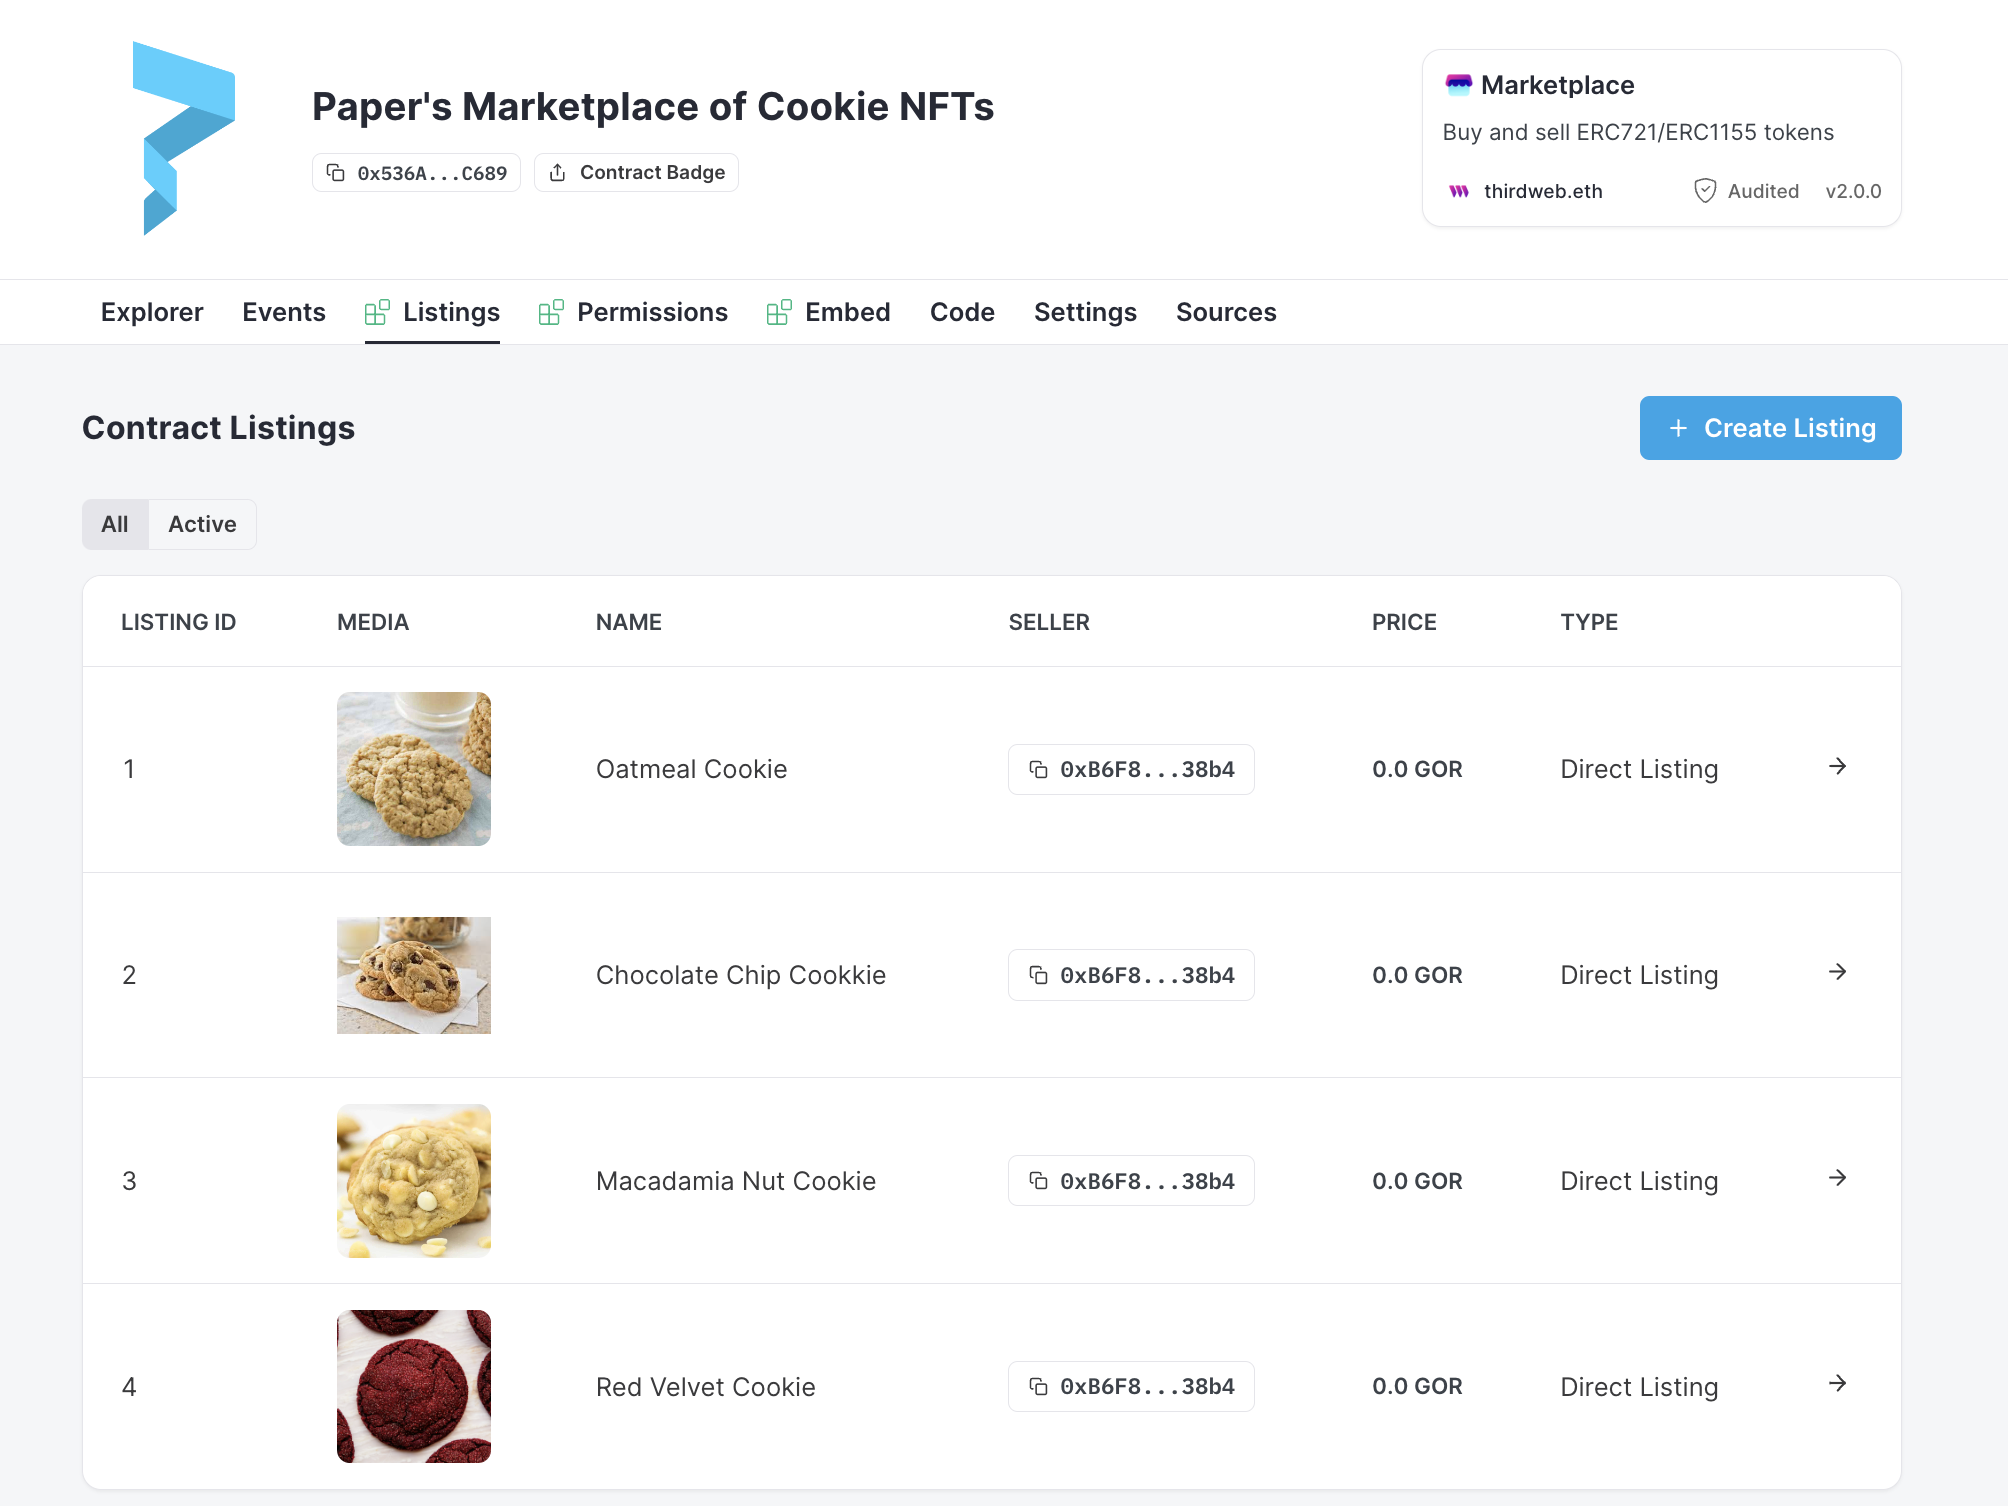
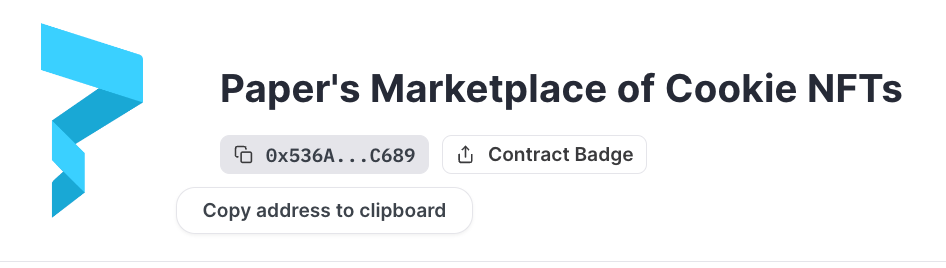
The last thing you need to do here is copy your smart contract address. This address represents a public address where the smart contract exists on the blockchain! Simply click the button that starts with “0x…” to copy the address.
Part 2: Creating a NFT Checkout Flow
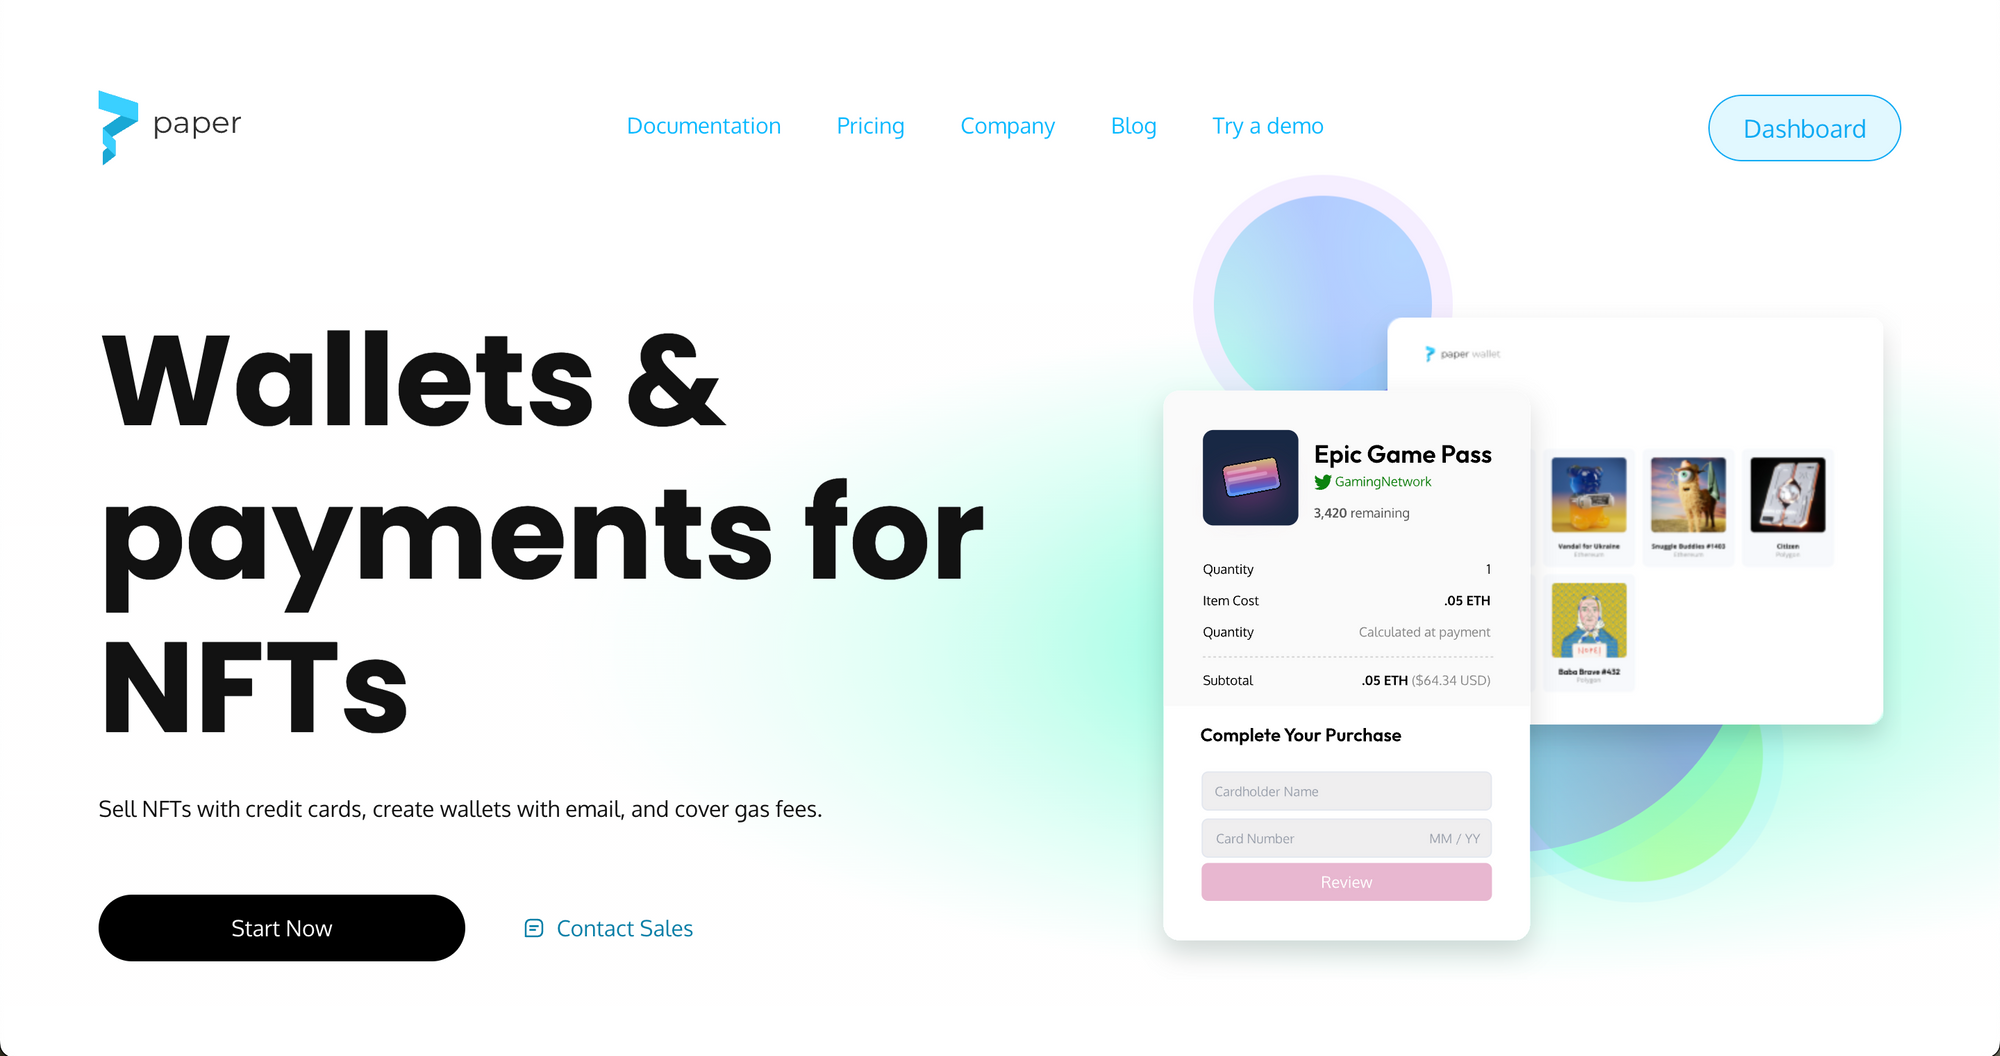
Buying or selling an NFT can be really difficult, especially when you only have the option to purchase in crypto. That means buyers will most likely need to first find an exchange to convert fiat currency to cryptocurrency, and convert even more to account for gas and transaction fees. They’ll also have to create a wallet! To overcome this hurdle and make your NFT marketplace more accessible, you can use a tool like Paper. Paper basically allows anyone to buy or sell an NFT using a credit card!
Let’s build a checkout flow that accepts credit card payments to work with our smart contract. Head over to withpaper.com and click on the “dashboard” button in the top right corner. You’ll need to enter and verify your email to get access to the dashboard.
On the Paper Developer Dashboard, head to the “Contracts” section in the left menu bar and click “Register Contract” on the top right.
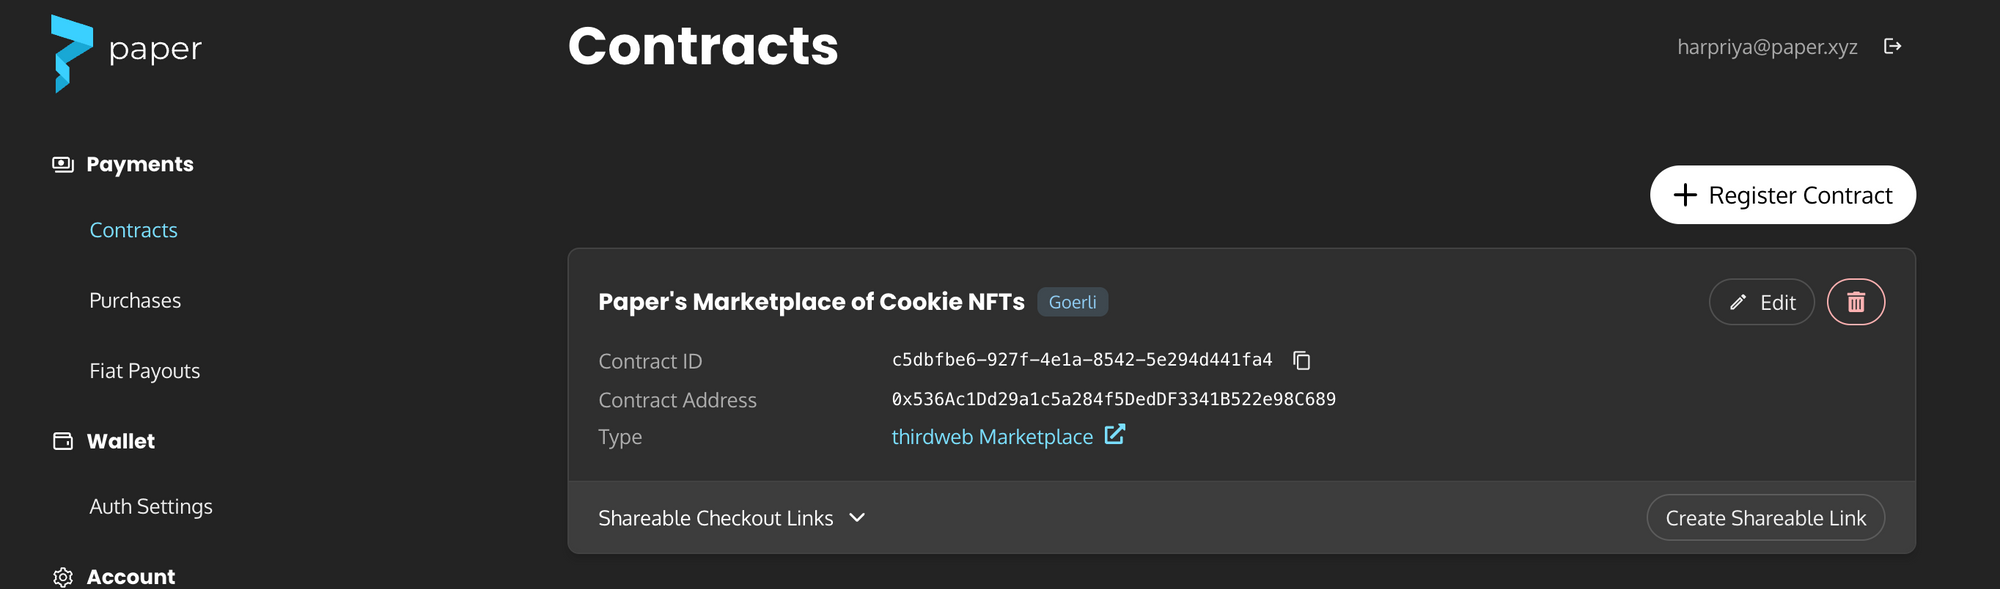
In this popup, you can name your contract and paste in your contract address that you copied over from the thirdweb marketplace smart contract. Make sure to select “Goerli” as the blockchain and select “thirdweb” for the contract type. Paper should auto-detect your smart contract as thirdweb Marketplace!

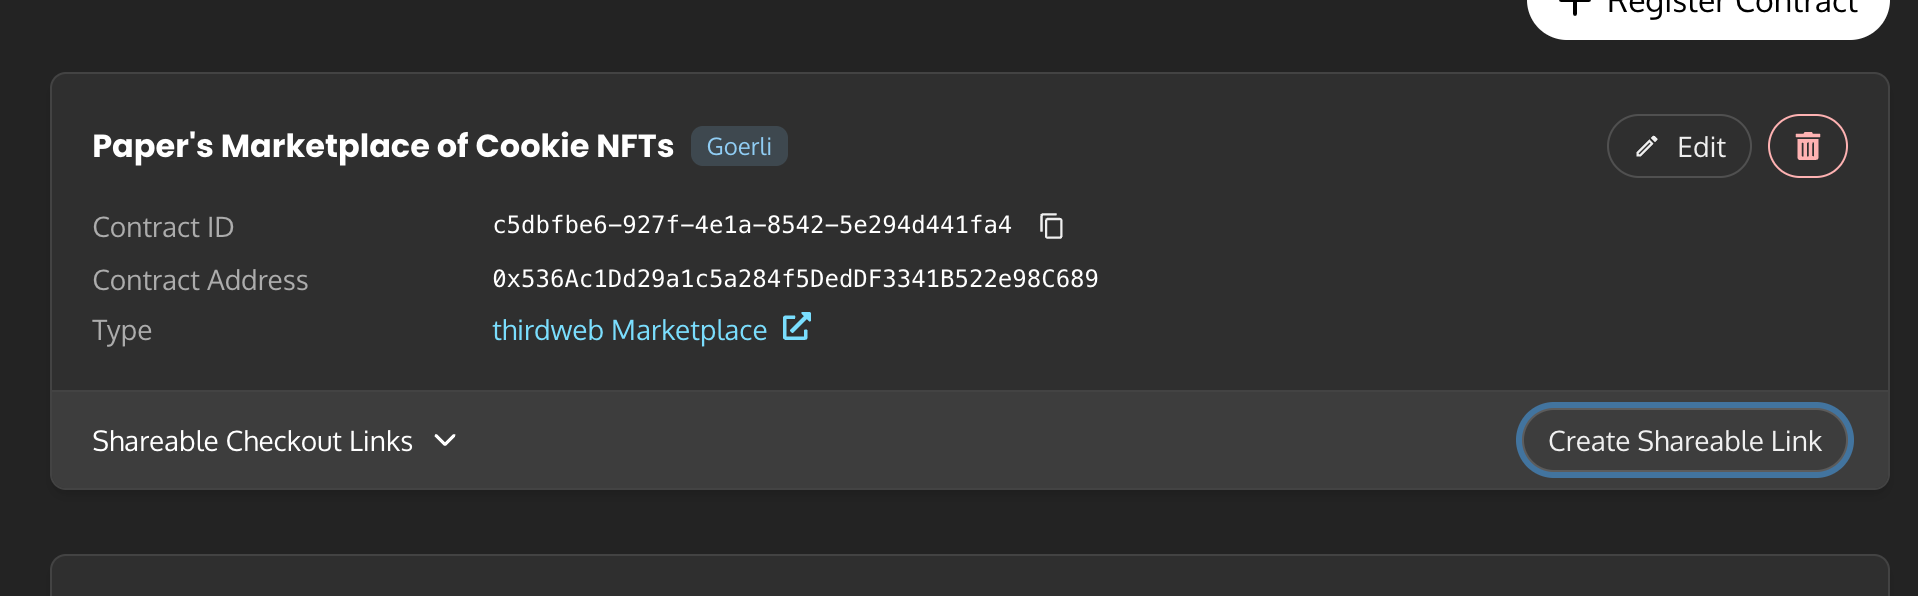
Now that you’ve registered your thirdweb Marketplace smart contract, you can click on “Create Shareable Link”. This is one of the many ways you can use Paper. The shareable link will allow you to create an NFT checkout for any of the NFTs on your marketplace with a pre-built UI. If you’d like an NFT checkout with more custom branding options, you can find the docs for our Checkout Elements here.
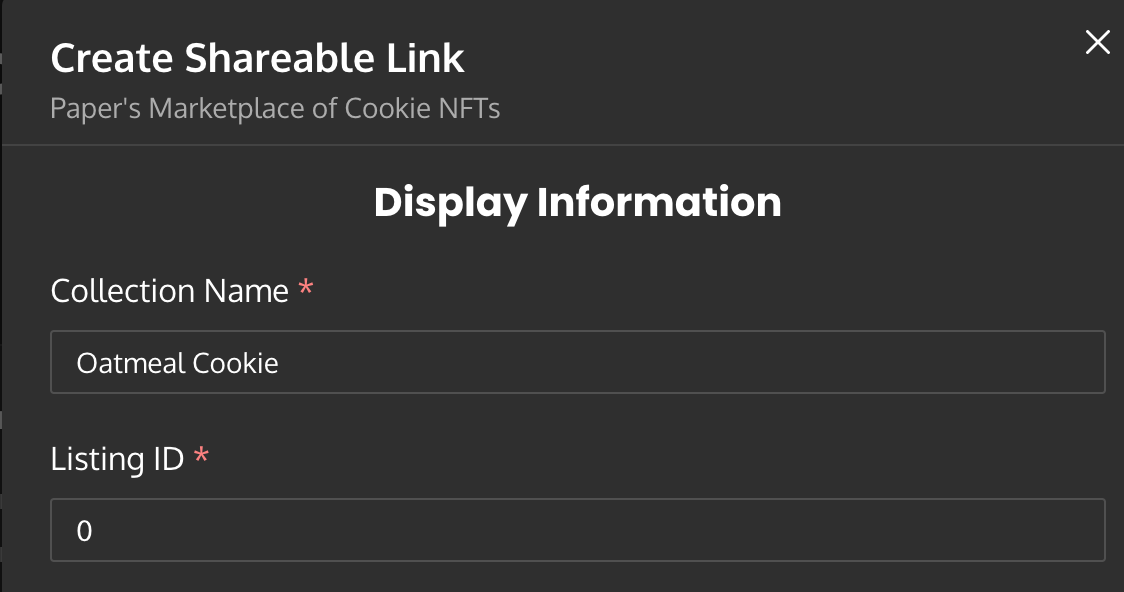
To create a shareable link, you can add a name for your collection and a corresponding listing ID for the NFT you’d like to put up for sale.
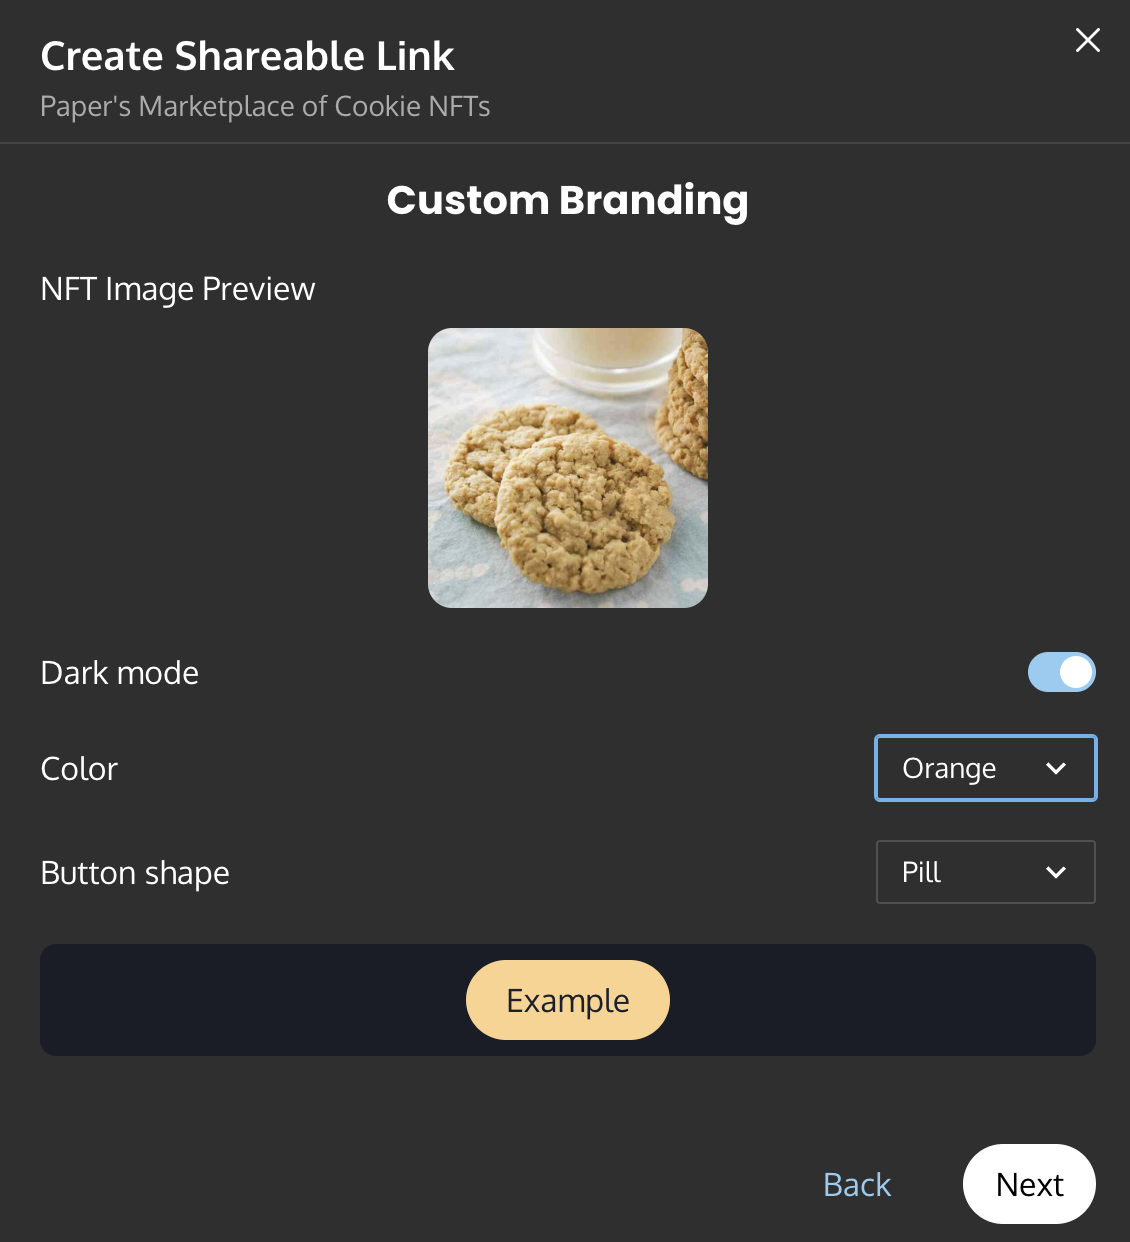
Step 3: Customizing! (optional)
Customizing is completely optional but very fun! To customize, you can add an image preview for your NFT or choose the color and shape of the buttons for your checkout UI.
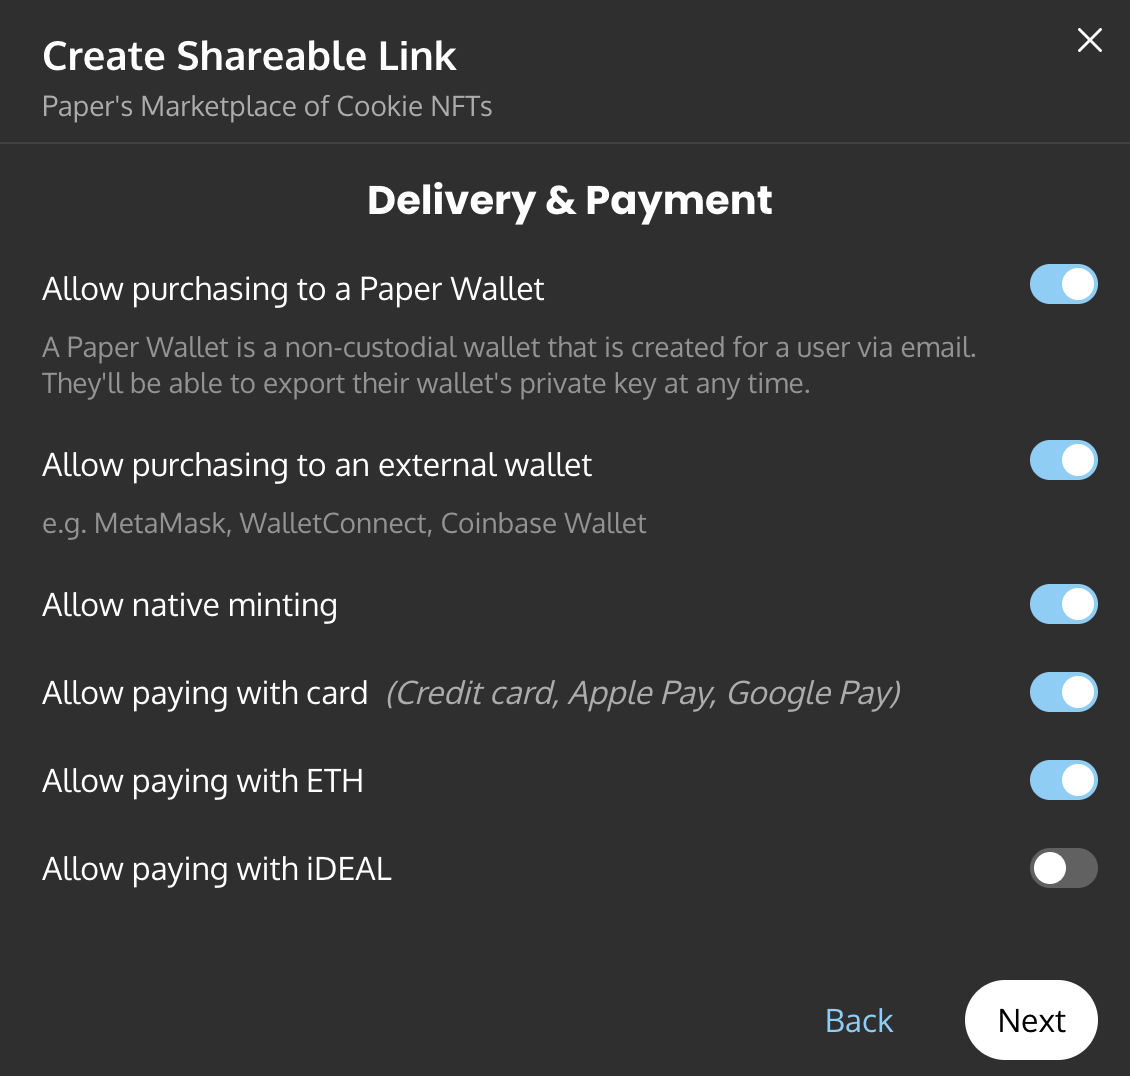
You can also further customize the payment options you’d like to be available to your users. Paper supports paying with card, Apple/Google Pay, cross-chain crypto, and iDEAL payments! You can also customize the type of wallet you’d like your users to be able to claim their NFT with.
And that’s it! Now that you’ve created your shareable checkout link, you can share it and start selling your NFTs and accepting credit cards as payment! :)
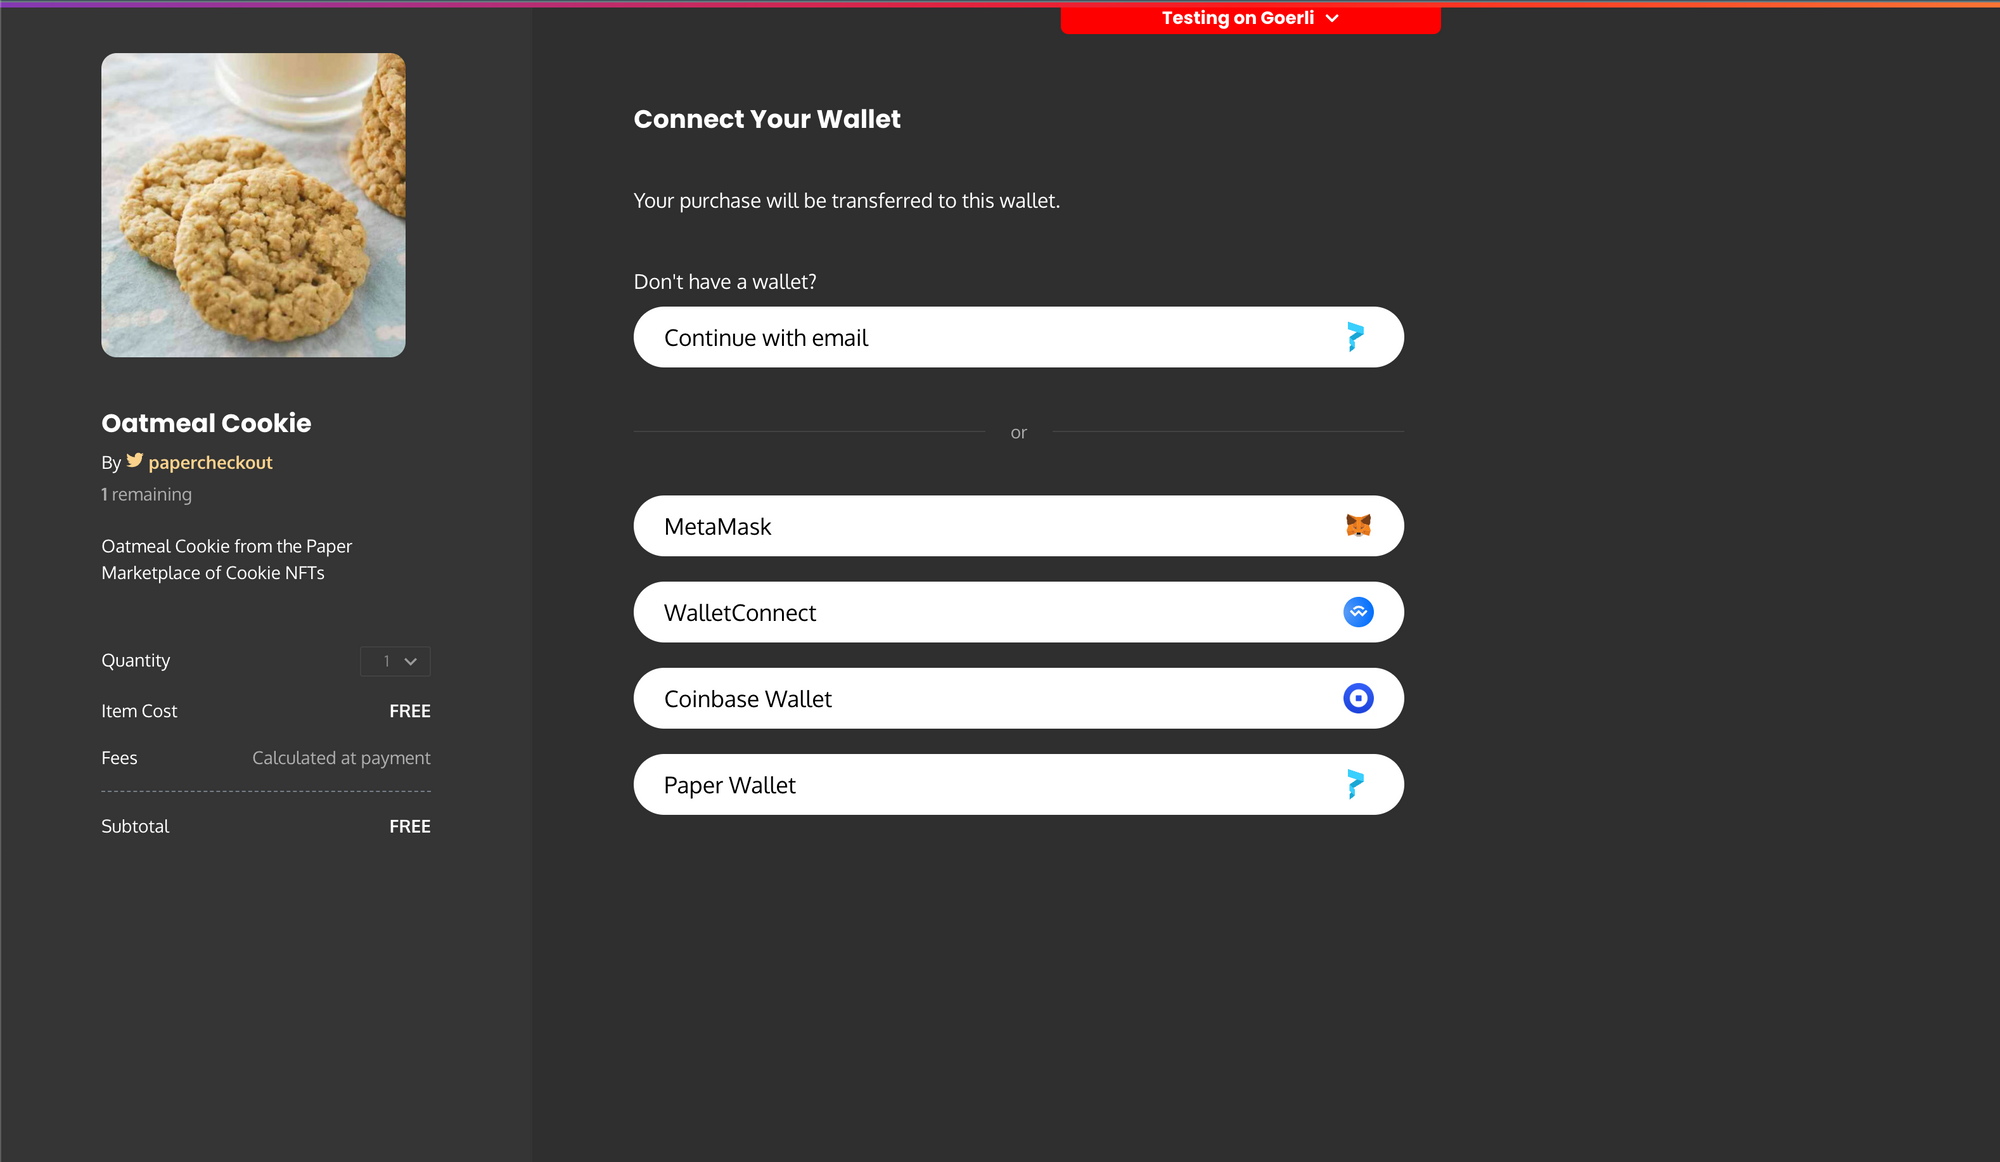
Here's the link I generated: https://withpaper.com/checkout/79359d3f-1d4f-4c5f-818d-77641e8c64c9. Feel free to try out what it's like to purchase an NFT with a credit card! Hint: use 4242 4242 4242 4242 for the credit card number and anything random in the name, CVC, and ZIP fields. It's a generic credit card number you can use for testing.
You can also use an email address to purchase this NFT instead of making a wallet through MetaMask, Coinbase Wallet, or Wallet Connect! Here's what the site looks like using the checkout link above:
Share your marketplace creations in Paper Community Discord. That’s also the best place to ask for help if you get stuck during any part of the tutorial. I’ll be around to help!
-Harpriya