Create a Simple App to Airdrop NFTs to Email or Wallet Addresses Using Paper

This guide will show you create a simple app to airdrop NFTs, without setting up your own infrastructure. This method works with both email addresses and wallet addresses. We’ll be using Paper, React, and Tailwind.
What is an NFT Airdrop?
NFT Airdrops are a powerful marketing tool where big brands distribute a limited number of non-fungible tokens (NFTs) to their target audience for free. These unique digital assets, ranging from art and collectibles to virtual merchandise, hold value and can be traded or sold on various platforms.
By leveraging NFT airdrops, big brands can create buzz, foster customer loyalty, and tap into the rapidly growing blockchain and cryptocurrency communities. This approach not only helps in expanding the brand's reach and driving user engagement but also offers a new way to showcase products or services
What is Paper?
Paper is a developer platform for NFT commerce. Paper’s Airdrop API allows you to send NFTs at scale to both wallet and email addresses. They have a fleet of worker wallets that is optimized for scale, so you don’t have to set up your own infrastructure to do this.
Using Paper to airdrop NFTs is easy.
How Paper’s Airdrop API Works
If you’re airdropping to a wallet, you just need to specify the address and it will get sent directly to it.
If you’re airdropping to an email, the recipient will get an email that allows them to claim the NFT. If they have a wallet address, they’ll be able to claim it directly to that wallet. If they don’t, Paper will spin up a non-custodial wallet for them tied to their email.
Prerequisites for the tutorial
- Understand the basics of blockchain, NFTs, and web development
- Install Node/npm
- Create a Paper developer account
- Have a Polygon or Mumbai testnet wallet address (to deploy your smart contract)
Building the App
This section is divided into three parts:
- Creating a paper-managed NFT contract
- Setting up the server for the Paper NFT airdrop
- Building out a front-end application where users can claim their NFTs
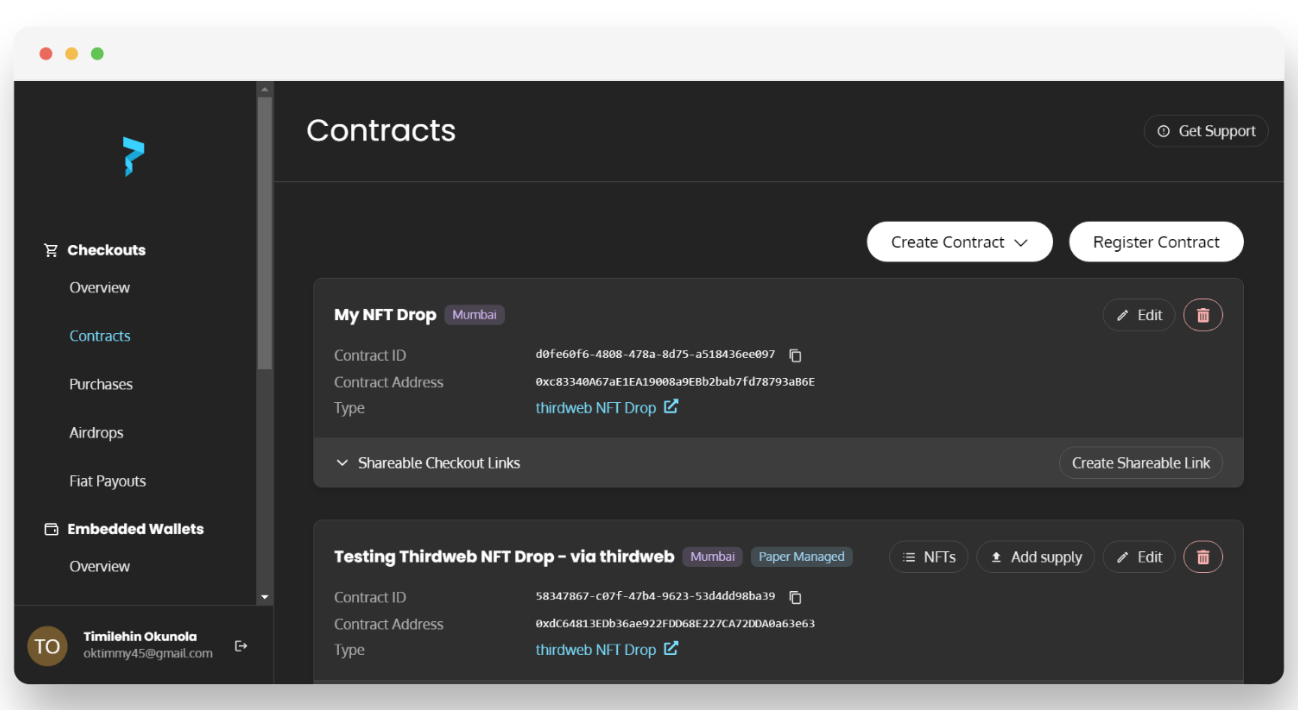
Creating a Paper-managed NFT Contract
You can create your Paper-managed NFT Drop contract directly from your Paper Dashboard. Paper-managed contracts use thirdweb under the hood, so you get the flexibility, security, and optimization that comes with all thirdweb contracts.
To create your NFT Edition Drop directly from the dashboard:
- Navigate to Contracts
- Click Create Contract
- On the modal, you’ll have two options
1. NFTs that have the same asset (thirdweb Edition Drop)
2. NFTs with unique assets (thirdweb NFT Drop) - Choose Create collection with the same asset
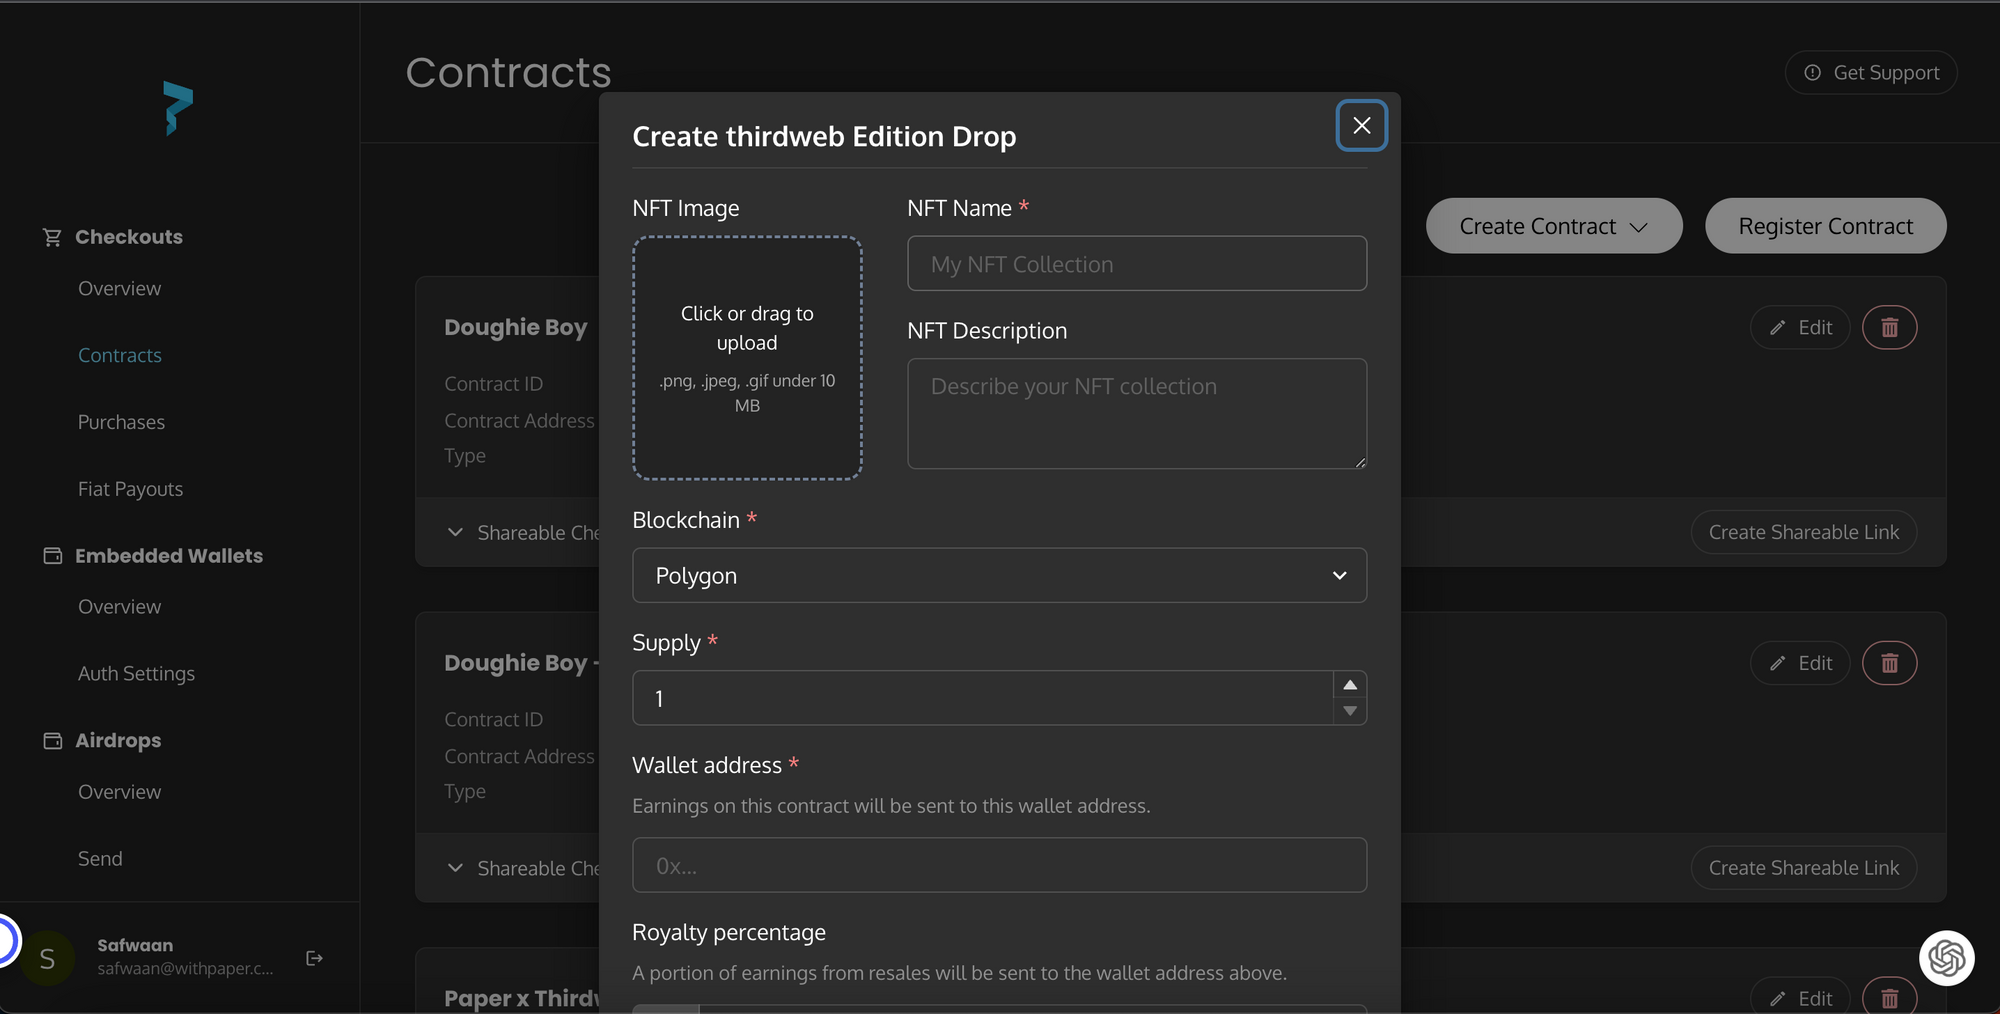
- Fill out your NFT details
- Click Create
Once the contract has been deployed successfully, you should see a newly registered contract on your contract dashboard.
Your NFT contract is now ready to airdrop some NFTs.
Setting Up the Server for a Paper NFT Airdrop
Let's set up our server on our computer. We'll create an airdrop endpoint that sends and receives requests from our Paper API endpoint. Here are the steps
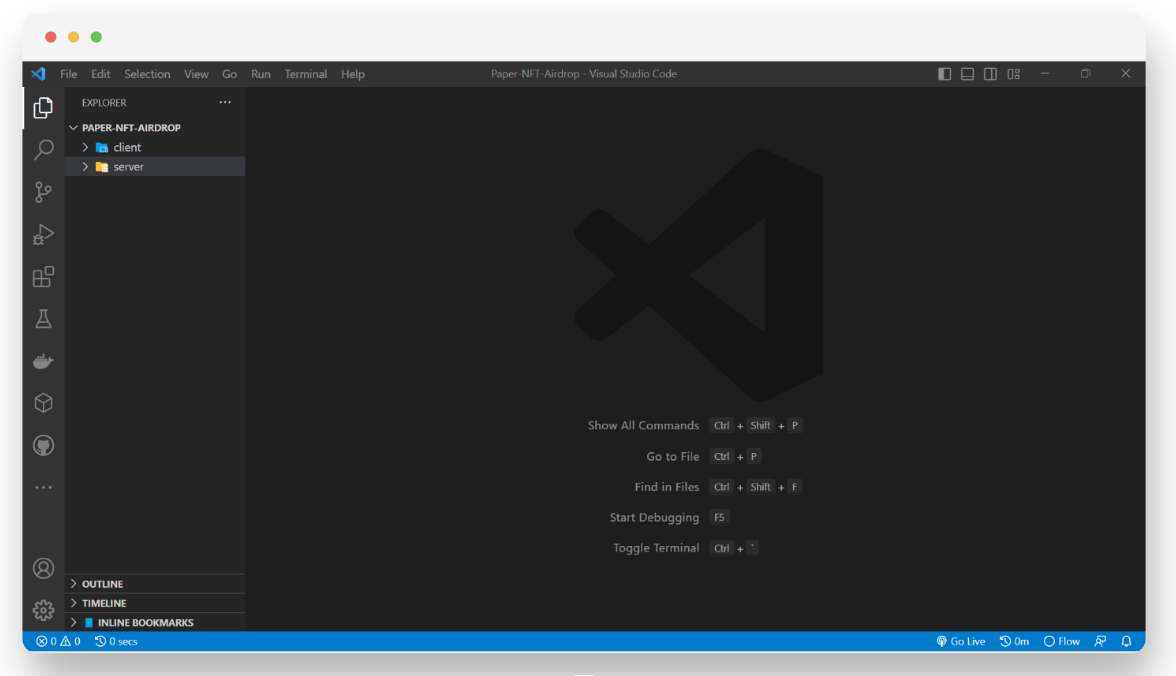
- Create a new folder on your computer and name it "Paper-NFT-Airdrop".
- Open VS Code and open the "Paper-NFT-Airdrop" folder.
- Inside the "Paper-NFT-Airdrop" folder, create two subfolders named "Server" and "Client".
- Open your terminal and navigate to the "Server" subfolder by running the command:
cd server
5. Initialize your project by running the command:
npm init -y
This will create a "package.json" file in your server folder.
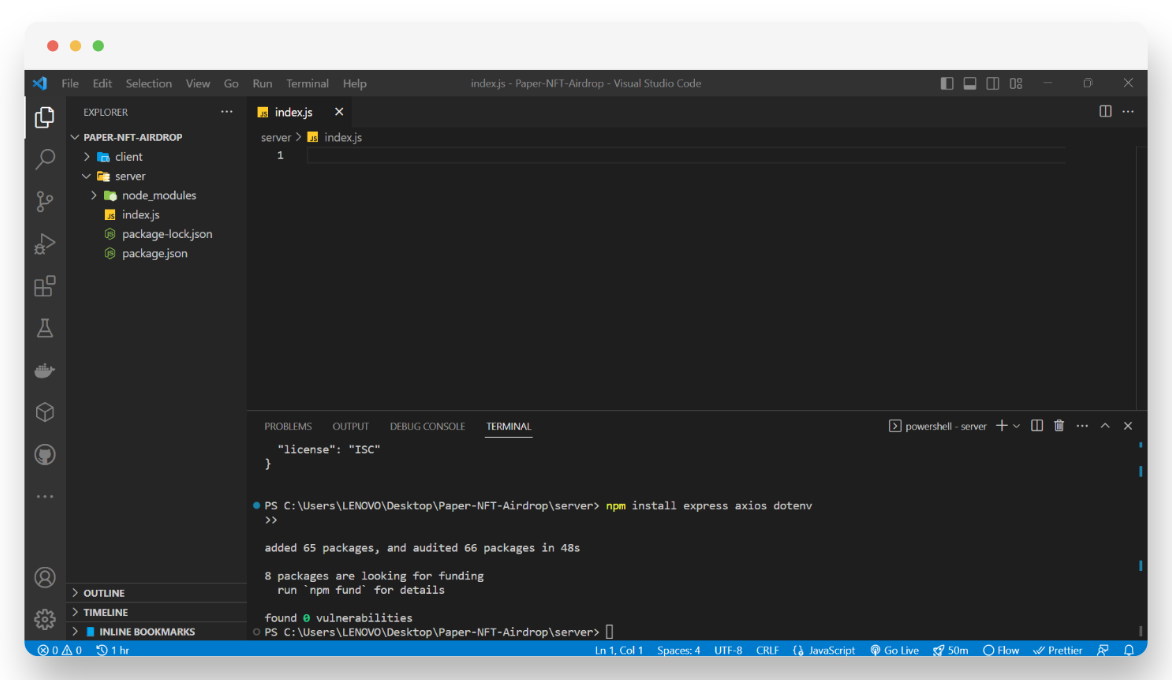
6. Install the necessary packages by running the command:
npm install express axios dotenv
7. Create an "index.js" file in your "Server" subfolder.
8. Open your "index.js" file and paste in the following code:
const express = require("express");
const axios = require("axios");
const dotenv = require("dotenv");

dotenv.config();

const app = express();

app.listen(2400, () => {
  console.log("Server running on port 2400");
});

//Airdrop Contract
app.post("/api/airdrop", async (req, res) => {
  const { walletAddress, email } = req.body;
  try {
    const response = await axios({
      method: "post",
      url: "<https://withpaper.com/api/2022-08-12/airdrop>",
      headers: {
        accept: "application/json",
        "content-type": "application/json",
        Authorization: `Bearer ${process.env.API_SECRET}`,
      },
      data: { contractId: `${process.env.CONTRACT_ID}`, walletAddress, email },
    });
    res.status(200).json(response.data);
  } catch (err) {
    res.status(500).json({ message: err });
  }
});
8. Create a ".env" file in your "Server" subfolder and paste in your API secret key and contract ID like so:
API_SECRET=<Your API secret key>
CONTRACT_ID=<Selected Contract ID>
Note that the ".env" file is used to keep your API secret and contract ID hidden from potential attackers.
9. Start your server by running the command below in your "Server" subfolder:
node index
You should see a console message confirming that your server is now running on port 2400.
Your server is now set up to handle requests from the Paper NFT airdrop endpoint.
Creating the Frontend
Installing React
To install React, open a new terminal in your VS code and navigate to your client folder using the following command:
cd clientInstall React by running this command:
npx create-react-app .
This command installs the React app inside your client folder without creating another subfolder.
Setting Up Tailwind CSS
Install Tailwind for styling the page by running the following commands:
npm install -D tailwindcss
npx tailwindcss init
In your tailwind.config.js file, paste the following code:
/** @type {import('tailwindcss').Config} */
module.exports = {
  content: [
    "./src/**/*.{js,jsx,ts,tsx}",
  ],
  theme: {
    extend: {},
  },
  plugins: [],
}
In your index.css file, paste the following:
@tailwind base;
@tailwind components;
@tailwind utilities;
Installing Dependencies
Install the axios package and the Paper SDK using the command below:
npm install axios
Building Components
For simplicity, we will create only 2 components: Header.jsx and AirdropComponent.jsx.
- Locate your
srcfolder and create acomponentsfolder with two files:Header.jsxandAirdropComponent.jsx. - In your
Header.jsxfile, paste the following code:
import React from "react";

const Header = () => {
  return (
    <header>
      <nav className="bg-gray-900 border-gray-200 px-4 lg:px-6 py-2.5">
        <div className="flex flex-wrap justify-between items-center mx-auto max-w-screen-xl">
          <a href="<https://withpaper.com>" className="flex items-center">
            <img
              src="<https://withpaper.com/icons/paper-logo-icon.svg>"
              className="mr-3 h-6 sm:h-9"
              alt="Paper Logo"
            />
            <span className="self-center text-xl text-white font-semibold whitespace-nowrap">
              Paper
            </span>
          </a>
        </div>
      </nav>
    </header>
  );
};

export default Header;
This is a simple Header UI with the Paper logo.
3. In your AirdropComponent.jsx file, paste the following code:
import React, { useState } from "react";
import axios from "axios";

const AirdropComponent = () => {
  const [walletAddress, setWalletAddress] = useState("");
  const [email, setEmail] = useState("");
  const [isLoading, setIsLoading] = useState(false);
  const [isClaimed, setIsClaimed] = useState(false);
  const [isError, setisError] = useState(false);

  const claimAirdrop = () => {
    setIsLoading(true);
    if (walletAddress === "" && email === "") {
      alert("Please Connect a wallet address or provide an email");
      setIsLoading(false);
      return;
    }

    let re =
      /^(([^<>()\\[\\]\\\\.,;:\\s@"]+(\\.[^<>()\\[\\]\\\\.,;:\\s@"]+)*)|(".+"))@((\\[[0-9]{1,3}\\.[0-9]{1,3}\\.[0-9]{1,3}\\.[0-9]{1,3}])|(([a-zA-Z\\-0-9]+\\.)+[a-zA-Z]{2,}))$/;

    if (email !== "" && re.test(email) !== true) {
      alert("Email is invalid");
      setIsLoading(false);
      return;
    }

    const options = {
      method: "POST",
      url: "<http://localhost:2400/api/airdrop>",
      headers: {
        accept: "application/json",
        "content-type": "application/json",
      },
      data: {
        walletAddress,
        email,
      },
    };

    axios
      .request(options)
      .then(function (response) {
        console.log(response.data);
        if (response.data.transactionId) {
          setIsClaimed(true);
        }
      })
      .catch(function (error) {
        console.error(error);
        setisError(true);
      });
    setIsLoading(false);
  };

  if (isClaimed) {
    return (
      <div className="h-screen flex flex-col items-center justify-center">
        <img
          src="<https://www.freeiconspng.com/thumbs/badge-icon-png/badge-icon-png-22.png>"
          alt="badge"
        />
        <p>NFT Claimed Successfully!!</p>
      </div>
    );
  }

  if (isError) {
    return (
      <div className="h-screen flex flex-col items-center justify-center">
        <img
          src="<https://www.freeiconspng.com/thumbs/error-icon/error-icon-32.png>"
          alt="error"
        />
        <p>Ooop.. Something Went Wrong</p>
      </div>
    );
  }

  return (
    <div className="h-screen flex flex-col items-center justify-center">
      <div className="text-4xl pb-8">Claim NFT</div>
      <div className="w-96">
        <label className="text-sm">Provide a valid wallet address</label>
        <input
          type="text"
          className="block border mt-2 bg-gray-800 border-gray-400 w-full p-3 rounded mb-4"
          placeholder="Contract Address"
          value={walletAddress}
          onChange={(e) => setWalletAddress(e.target.value)}
        />
      </div>

      <div className="w-96">
        <label className="text-xs">
          Provide an email address to get custom NFT link immediately
        </label>
        <input
          type="email"
          className="block border mt-2 w-full bg-gray-800
					border-gray-400 p-3 rounded mb-4"
      placeholder="Email address"
      value={email}
      onChange={(e) => setEmail(e.target.value)}
    />
  </div>

  <div className="w-96">
    <button
      disabled={isLoading}
      onClick={claimAirdrop}
      className="text-gray-200 border w-full border-gray-200 hover:bg-gray-900 font-medium mb-4 rounded-lg text-sm px-4 lg:px-5 py-2 lg:py-2.5 mr-2 mt-4"
    >
      {isLoading ? "Loading...." : "Claim Airdrop"}
    </button>
  </div>
</div>
);
};
export default AirdropComponent;
In your App.js file, clear the div in the return statement and paste the following code:
import React from 'react';
import Header from "./components/Header";
import AirdropComponent from "./components/AirdropComponent";

function App() {
  return (
    <div className="App bg-gray-800 text-gray-200">
      <Header />
      <AirdropComponent />
    </div>
  );
}

export default App;
Your app is now ready to run. Ensure that your server is still running on port 2400.
Run the following command in your terminal with the folder navigated to client:
npm run start
Conclusion
In this tutorial, we have seen how to create a simple app that allows you to airdrop NFTs to an email or wallet address using Paper. You can get started with Paper here.