How to Create a Token-Gated Blog (Using Next and Paper)

In this guide, we'll show you how to create a token-gated blog. Readers without an NFT can purchase an NFT with a credit card or crypto. Once they hold the NFT, they'll get access to the blog posts.
This tutorial will use Typescript, TailwindCSS, Next.js, and Paper.
You can fork the code from GitHub here.
Prerequisites
Before we start, make sure you have the following:
- Create a Paper developer account
- Install Node
- Have some funds on Polygon's Mumbai testnet (to deploy your smart contract)
Getting Started
First, let's set up our NFT project. Go to https://withpaper.com/dashboard/contracts & create a new contract. For this example, we'll be using the same asset (ERC1155). Make sure it's on the Mumbai testnet, and enter a supply of 100 for this example. Enter your address to receive royalties & change the mint price to be in Matic. Once the contract has been deployed, create a shareable link and enter the necessary information. For this example, we'll keep payments simple and only allow native minting & purchasing with an external wallet. Save the contract ID, contract address, & shareable link. We'll need it in our code.
Next, let's set up our new project. Open a new project folder in VSCode & run
npx create-next-app@latest .
to initialize a new project. The CLI will ask you a few questions, so enter:
- "Yes" for Typescript
- "No" for ESLint
- "Yes" for TailwindCSS
- "No" for
src/directory - "Yes" for App Router
- "No" for customizing import alias.
Next, install the necessary packages:
npm i @paperxyz/embedded-wallet-service-rainbowkit @rainbow-me/rainbowkit wagmi ethers@^5 dotenv @thirdweb-dev/react @thirdweb-dev/sdk tailwindcss-animate encoding lokijs pino-pretty @paperxyz/js-client-sdk
In your app/globals.css file, replace the file with the following:
@tailwind base;
@tailwind components;
@tailwind utilities;
In your tailwind.config.js file, replace the file with the following:
const { fontFamily } = require("tailwindcss/defaultTheme");

/** @type {import('tailwindcss').Config} */
module.exports = {
  darkMode: ["class"],
  content: [
    "./pages/**/*.{js,ts,jsx,tsx,mdx}",
    "./components/**/*.{js,ts,jsx,tsx,mdx}",
    "./app/**/*.{js,ts,jsx,tsx,mdx}",
  ],
  theme: {
    extend: {
      colors: {
        "dark-main": "#262835",
        "dark-secondary": "#3b3f53",
        "dark-tertiary": "#525875",
        "dark-quaternary": "#6f77a2",
        "light-main": "#f6f7f9",
        "light-secondary": "#d5d7e2",
        "light-tertiary": "#868daa",
        "light-quaternary": "#676f90",
      },
      keyframes: {
        "accordion-down": {
          from: { height: 0 },
          to: { height: "var(--radix-accordion-content-height)" },
        },
        "accordion-up": {
          from: { height: "var(--radix-accordion-content-height)" },
          to: { height: 0 },
        },
      },
      animation: {
        "accordion-down": "accordion-down 0.2s ease-out",
        "accordion-up": "accordion-up 0.2s ease-out",
      },
    },
  },
  plugins: [require("tailwindcss-animate")],
};
Create a .env file and enter the following:
NEXT_PUBLIC_CLIENT_ID="YOUR_CLIENT_ID"
NEXT_PUBLIC_CONTRACT_ADDRESS="YOUR_CONTRACT_ADDRESS"
NEXT_PUBLIC_SHAREABLE_LINK="YOUR_SHAREABLE_LINK"
Make sure to replace the values with the ones you saved earlier.
To make sure the logo works, create a file in /public called paper.svg and add the following:
<svg width="20" height="38" viewBox="0 0 20 38" fill="none" xmlns="http://www.w3.org/2000/svg">
<path fill-rule="evenodd" clip-rule="evenodd" d="M20 7.07674C20 6.64095 19.7178 6.25534 19.3024 6.12356L0 0V9.14815L11.4286 12.6222L2.14286 19V26.7407L4.31239 28.986L2.46932 30.6655C2.26137 30.855 2.14286 31.1233 2.14286 31.4046V38L8.57143 33.0741V25.3333L6.64797 23.6691L20 15.4815V7.07674Z" fill="#19A8D6"/>
<path d="M20 7.07674C20 6.64095 19.7178 6.25534 19.3024 6.12356L0 0V9.14815L20 15.4815V7.07674Z" fill="#39D0FF"/>
<path d="M8.57143 25.3333L2.14286 19V26.7407L8.57143 33.0741V25.3333Z" fill="#39D0FF"/>
</svg>
Setting up the Blog
Now we can get started adding the functionality to the code. First, create a folder called api inside the app folder. Create a second folder called blogPosts within the api folder. Add a file inside api/blogPosts called route.ts and add the following code:
import { NextResponse, NextRequest } from "next/server";

export const GET = async (req: NextRequest, res: NextResponse) => {
  const realPosts = [
    {
      title: "How to Create and Update NFTs Programmatically Using the Paper API",
      description:
        "If you're looking to create and update an NFT contract programmatically, you're in the right place.",
    },
    {
      title: "New: Optimism Support for Checkouts & Embedded Wallets",
      description:
        "Hey folks! We're super excited to announce that we're integrating Optimism into our Checkouts and Wallets products.",
    },
    {
      title: "How to Create an NFT Collection With The Same Asset (Without Code)",
      description:
        "In this tutorial, we will walk you through the process of creating an NFT contract with a Paper, where all holders of the NFT will have the same image or asset",
    },
    {
      title: "Create a Simple App to Airdrop NFTs to Email or Wallet Addresses Using Paper",
      description:
        "This guide will show you create a simple app to airdrop NFTs, without setting up your own infrastructure",
    },
  ];

  try {
    return NextResponse.json({ data: realPosts }, { status: 200 });
  } catch (error) {
    console.log(error);
    return NextResponse.json(`First Error: ${error}`, { status: 500 });
  }
};
This is to secure your content from being accessed by non-NFT holders. You'll be querying this endpoint to get the posts once the frontend has validated that the user owns the NFT.
In layout.tsx replace the code with this:
"use client";

import { useEffect, useState } from "react";
import { Inter } from "next/font/google";
import "./globals.css";
import "@rainbow-me/rainbowkit/styles.css";
import { ThirdwebProvider } from "@thirdweb-dev/react";
import { PaperEmbeddedWalletProvider } from "@paperxyz/embedded-wallet-service-rainbowkit";

const inter = Inter({
  weight: ["300", "400", "600", "700"],
  subsets: ["latin"],
});

const RootLayout = ({ children }: { children: React.ReactNode }) => {
  const [loading, setLoading] = useState(true);
  const clientId = process.env.NEXT_PUBLIC_CLIENT_ID!;

  useEffect(() => {
    setLoading(false);
  }, []);

  if (loading) {
    return (
      <html lang="en">
        <body className={`${inter.className} bg-dark-main text-light-main`}>
          <div>Loading...</div>
        </body>
      </html>
    );
  }

  return (
    <html lang="en">
      <body className={`${inter.className} bg-dark-main text-light-main`}>
        <PaperEmbeddedWalletProvider
          appName="Paper RainbowKit Provider Example"
          walletOptions={{
            clientId: clientId,
            chain: "Mumbai",
          }}
        >
          <ThirdwebProvider activeChain="mumbai">
            {/*  */}
            {children}
          </ThirdwebProvider>
        </PaperEmbeddedWalletProvider>
      </body>
    </html>
  );
};

export default RootLayout;
In page.tsx, replace the code with the following:
"use client";
import Link from "next/link";
import { ThirdwebSDK } from "@thirdweb-dev/sdk";
import { useEffect, useState } from "react";
import { ConnectButton } from "@paperxyz/embedded-wallet-service-rainbowkit";
import { renderPaperCheckoutLink } from "@paperxyz/js-client-sdk";
import { useAccount } from "wagmi";
export type BlogPost = {
title: string;
description: string;
};
const dummyPosts: BlogPost[] = [
{
title: "Lorem Ipsum Dolor Sit Amet",
description:
"Consectetur adipiscing elit, sed do eiusmod tempor incididunt ut labore et dolore magna aliqua.",
},
{
title: "Vestibulum Ante Ipsum Primis",
description:
"Faucibus orci luctus et ultrices posuere cubilia curae; Donec velit neque, auctor sit amet aliquam vel.",
},
{
title: "Mauris Blandit Aliquet Elit",
description:
"Etiam erat velit, scelerisque in dictum non, consectetur eget mi. Vestibulum ante ipsum primis in faucibus.",
},
{
title: "Cras Ultricies Ligula Sed",
description:
"Pellentesque elit eget gravida cum sociis natoque penatibus et magnis dis parturient montes, nascetur ridiculus mus.",
},
];
/* ======================================
Main Component
======================================= */
const HomePage = () => {
const [loading, setLoading] = useState(true);
const [hasNFT, setHasNFT] = useState(false);
const [posts, setPosts] = useState<BlogPost[]>([]);
// Thirdweb Stuff
const sdk = new ThirdwebSDK("mumbai");
const contractAddress = process.env.NEXT_PUBLIC_CONTRACT_ADDRESS!;
const shareableLink = process.env.NEXT_PUBLIC_SHAREABLE_LINK!;
const minimumBalance = 1;
const erc1155TokenId = 0;
const { address, connector } = useAccount({
async onConnect({ address, connector, isReconnected }) {
console.log("Connected", { address, connector, isReconnected });
console.log("Connected");
},
onDisconnect() {
console.log("Disconnected");
setPosts([]);
setHasNFT(false);
},
});
useEffect(() => {
const checkNFT = async () => {
const contract = await sdk.getContract(contractAddress);
if (address) {
const balance = await contract.erc1155.balanceOf(address, erc1155TokenId);
const isValid = balance.gte(minimumBalance);
if (isValid) {
const res = await fetch("/api/blogPosts");
const posts = await res.json();
setPosts(posts.data);
setHasNFT(true);
} else {
setPosts([]);
setHasNFT(false);
}
}
};
checkNFT();
}, [address]);
// Fixes Hydration Issues
useEffect(() => {
setTimeout(() => setLoading(false), 500);
}, []);
if (loading) return null;
return (
<div className="text-center">
{/* Navbar */}
<nav className="bg-dark-secondary px-4 py-2">
<div className="flex items-center justify-between px-3 py-3">
<div className="flex items-center">
<Link href="/">
<img src="/paper.svg" alt="Logo" className="ml-3 h-9 w-auto" />
</Link>
<h1 className="ml-4 text-2xl font-semibold text-light-main">Paper</h1>
</div>
<ConnectButton />
</div>
</nav>
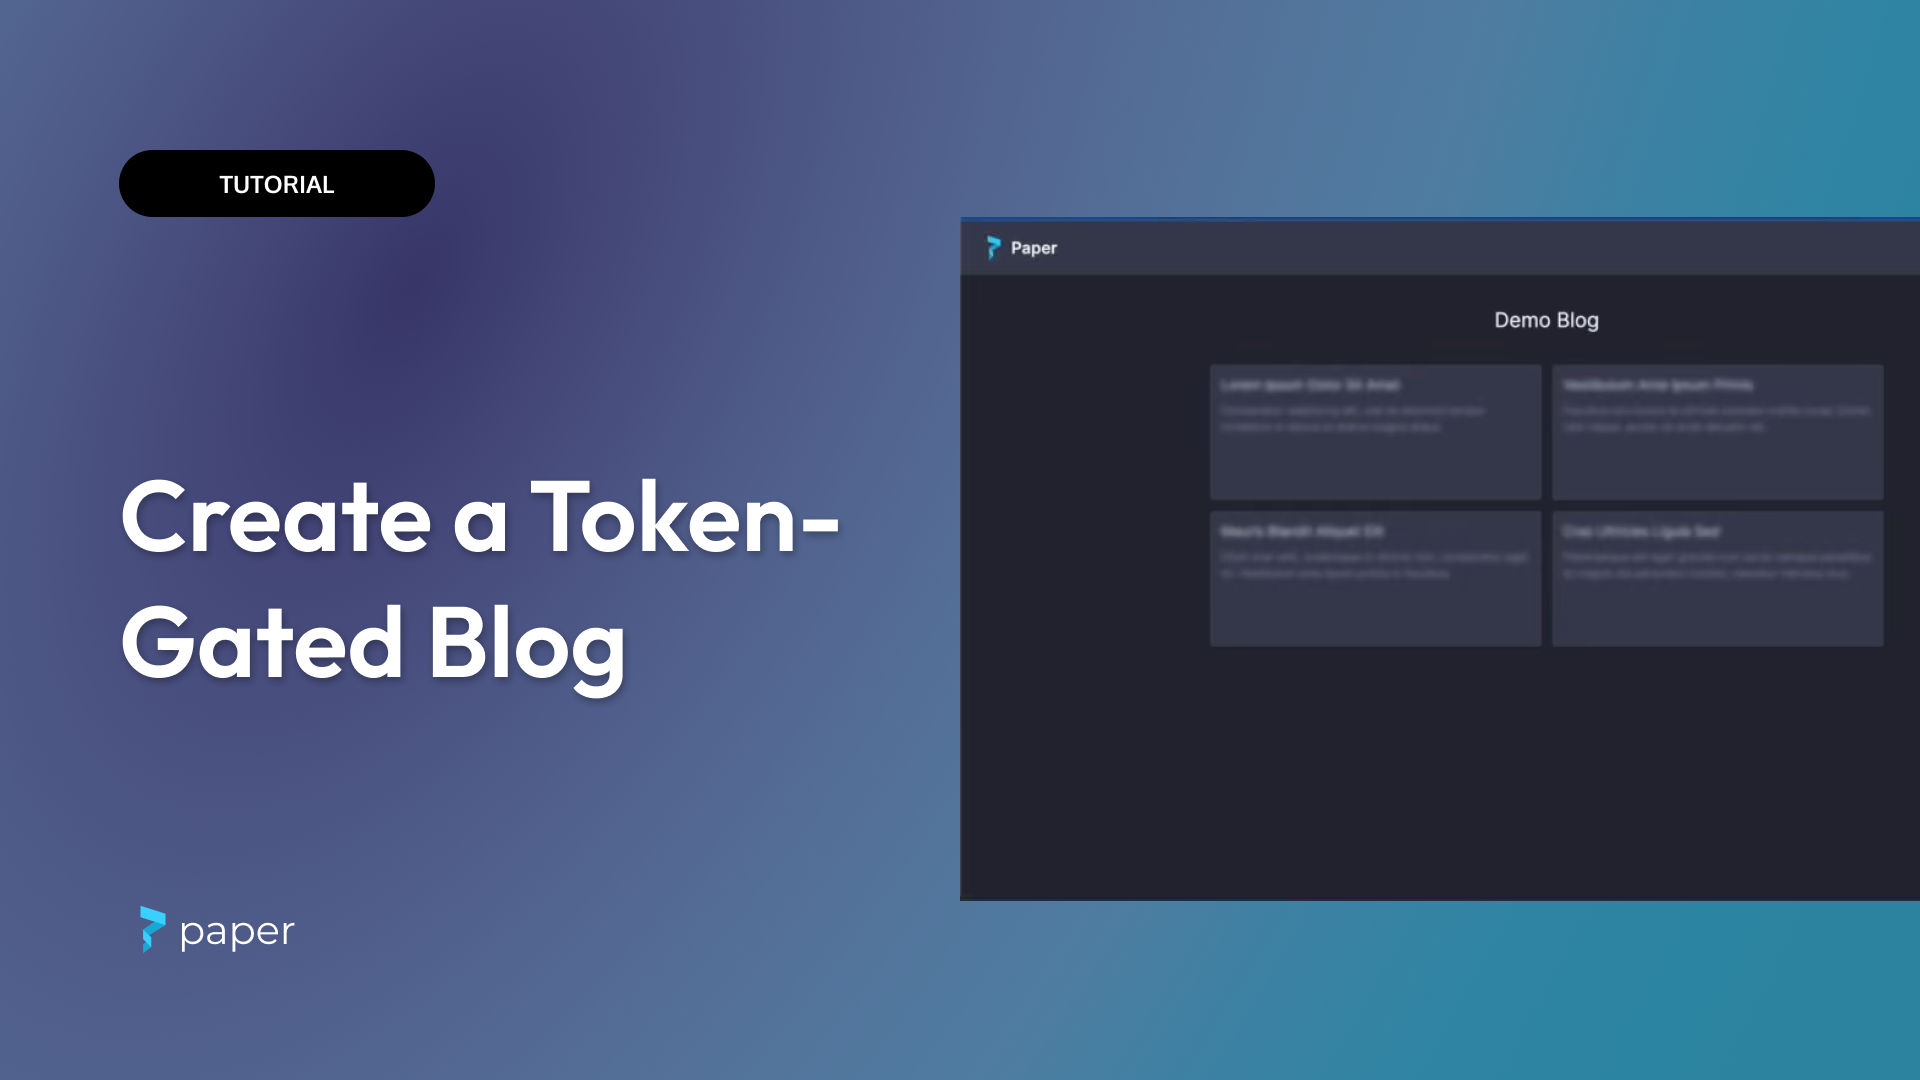
{/* Header */}
<h1 className="mt-12 text-3xl">Demo Blog</h1>
{/* Blog Posts */}
{hasNFT ? (
<div className="mx-auto mb-10 mt-8 max-w-5xl bg-dark-main p-4 text-light-main">
<div className="grid grid-cols-2 gap-4">
{posts.map((post, index) => (
<div key={index} className="min-h-[200px] rounded bg-dark-secondary p-4 text-left">
<h2 className="mb-2 text-xl text-light-secondary">{post.title}</h2>
<p className="mt-3 text-light-tertiary">{post.description}</p>
</div>
))}
</div>
</div>
) : (
<div className="mx-auto mb-10 mt-8 max-w-5xl bg-dark-main p-4 text-light-main">
<div className="grid grid-cols-2 gap-4">
{dummyPosts.map((post, index) => (
<div key={index} className="min-h-[200px] rounded bg-dark-secondary p-4 text-left">
<h2 className="mb-2 text-xl text-light-secondary blur-sm">{post.title}</h2>
<p className="mt-3 text-light-tertiary blur-sm">{post.description}</p>
</div>
))}
</div>
</div>
)}
{/* Buy NFT Button */}
{!address ? null : hasNFT ? null : (
<button
onClick={() =>
renderPaperCheckoutLink({
checkoutLinkUrl: shareableLink,
})
}
className="rounded bg-dark-tertiary px-5 py-3 transition-all hover:bg-dark-quaternary"
>
Buy with Paper
</button>
)}
</div>
);
};
export default HomePage;
Let's break down what's happening:
- In
layout.tsx, we're adding the Paper & Thirdweb Providers to ensure that our entire app has access to the Paper & Thirdweb functionality. We also create a loading state to ensure the app fully renders appropriately. - In
page.tsxwe first set up the state variables. useAccountallows us to track wallet changes & disconnections, which helps us know when we should show the real content vs the placeholder content.- The first
useEffecthook tracks when the address changes and checks to see if the account holds the necessary NFT. If it doesn't, it will render the blurred data, but if it does, it will call our backend and fetch the real posts & update our frontend. - When the user clicks "Buy", they will be navigated to a checkout drawer to purchase the NFT. Once the purchase is complete, they can reload the page & get access to the content with their wallet that owns the NFT. They can use an email & credit card, or an external wallet like Metamask
Save the files & open your terminal. Run npm run dev and you'll be up & running!
You can fork the code from GitHub here.