Pay What You Want - How to Dynamically Price Your NFTs
This guide covers how to dynamically pricing your NFTs. You'll set up a local deployment and generate checkout links using the Paper API.

A big trend in the world of Web 3 right now is “pay what you want” NFTs. If you haven’t seen an example of this pop-up yet, it’s essentially a utility NFT but instead of paying a fixed price, the buyer can choose the amount they want to pay.
Imagine you run a non-profit organization like a charity and you want to give an NFT to all your donors. This NFT could be like a membership token or an event pass that holds some utility. Because of the donation modal, you’d want to give your buyers flexibility in determining how much they want to pay. Maybe you could have 3 donation options or a minimum donation amount and create an open input field where donors can type in whatever amount they’d like to donate.
That’s just an example, but now let’s see how it can work! We’ll be using the Paper API for this guide. Paper allows us to give buyers the option to pay with a credit card or cross-chain crypto on top of native minting. We can also do more cool stuff like spin up non-custodial wallets for the buyers based on their email addresses!
Step 1: Clone Repo
To start, let’s look at a demo. You can find it here: pay-what-you-want.vercel.app. Feel free to play around with this live version. We’ll be cloning this repo and modifying the code a bit to get an understanding of how this works.
Start by opening up your favorite code editor. My favorite is VSCode. Clone the repo from this link: https://github.com/paperxyz/dynamic-pricing
Once you’ve cloned repo, make sure to run npm install and then npm run dev to get the project up and running on your localhost.
And now you have a live deployment! :)
Step 2: Paper Developer Dashboard
To get your local deployment generating NFT checkout links with dynamic pricing, we need a Paper API key. Start by heading to the Paper Developer Dashboard.
After clicking on “Developer Settings”, you’ll see your API key like the image below. Make sure to copy this.
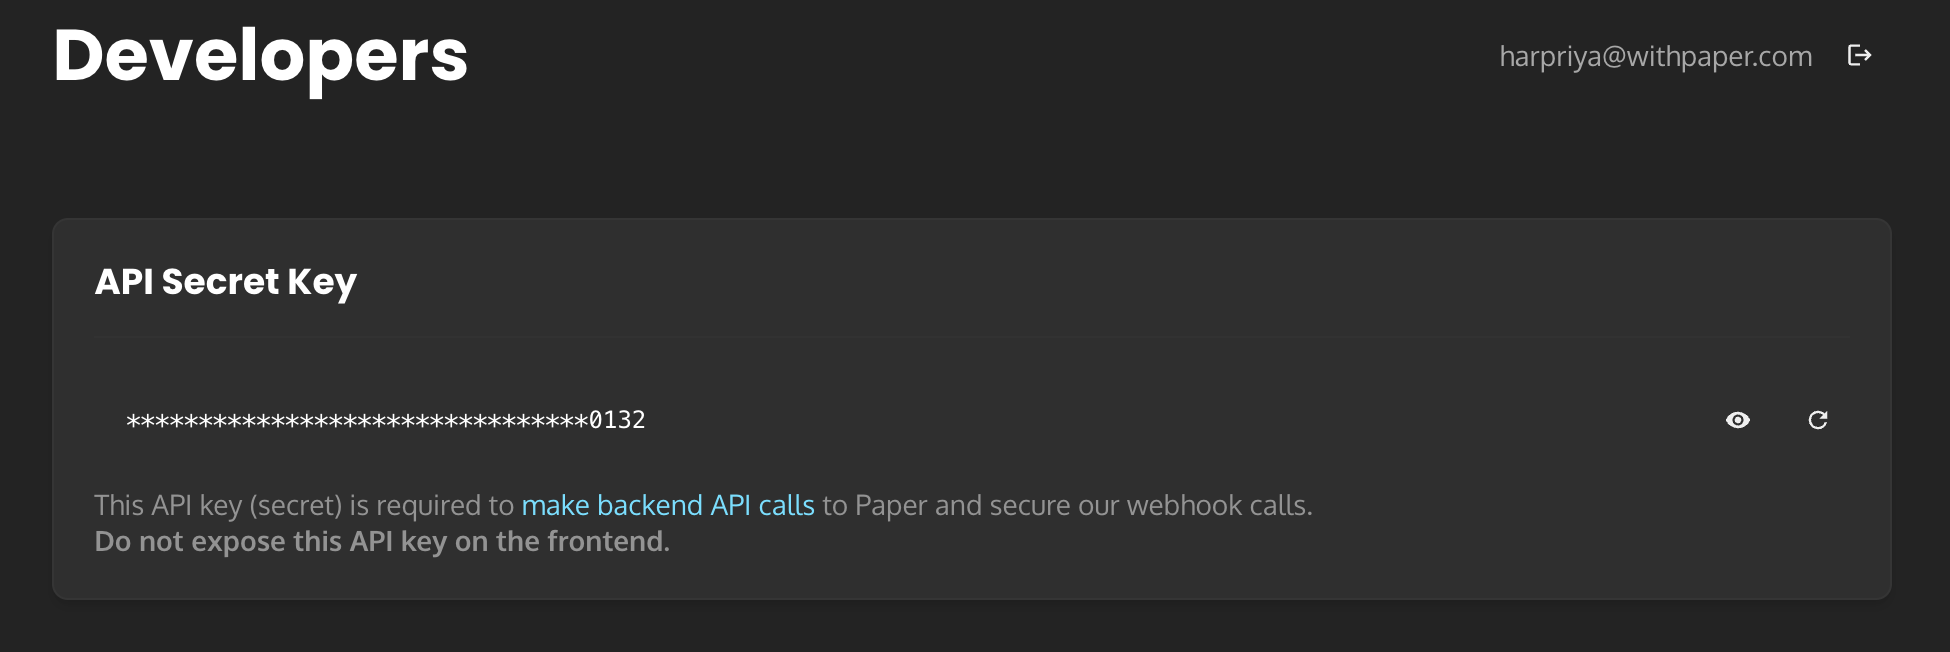
In your code editor, create a file at the top-most level named “.env.local” and paste in your API key with the following text:
PAPER_API_KEY=Bearer REPLACE_THIS_WITH_YOUR_API_KEY
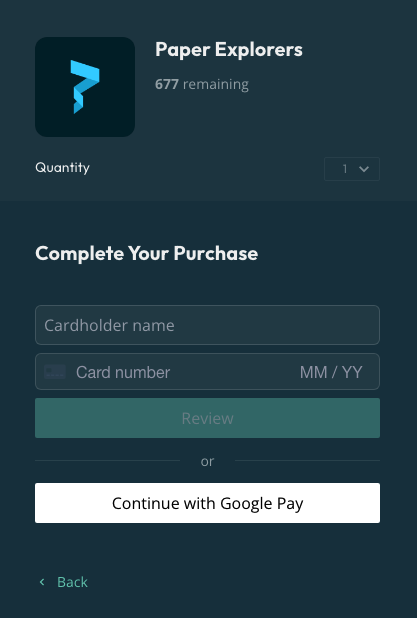
Now you can check your localhost:3000 and generate the dynamically priced NFT checkouts, just like the demo!
Step 3: Modify Your App
Now that you have a local app that dynamically generates a checkout link based on an input, you can build on top of this! You can add buttons with various pricing inputs. You can change the currency. You change the range of accepted freeform price values. You can build anything you want on top of this. Just remember to ship it and share it with the world! 🫡

Next Steps
Now that your smart contract can accept and withdraw a USDC balance, you’re ready to start putting up your NFTs up for mint! You can follow the same steps above for any ERC-20 token. And if you’re looking to accept credit card payments (or apple pay/google pay) for your NFTs, you can check out Paper - an NFT checkout tool!
Read Next...
 Harpriya Bagri